Sparkle And Flow
Run Time: 20Hr 7 Min
Video Size: 1920x1080 Full HD
Purchase Price in USD.
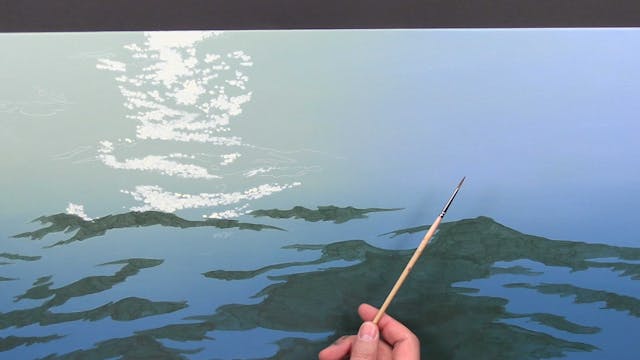
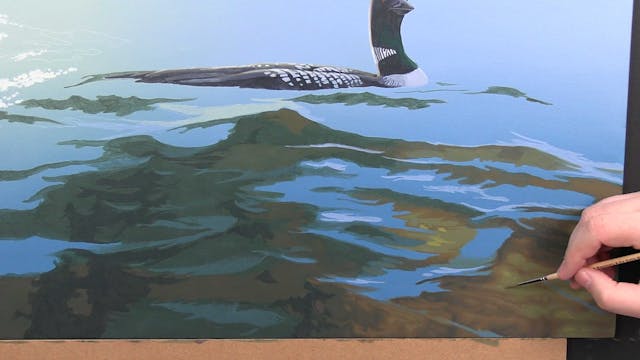
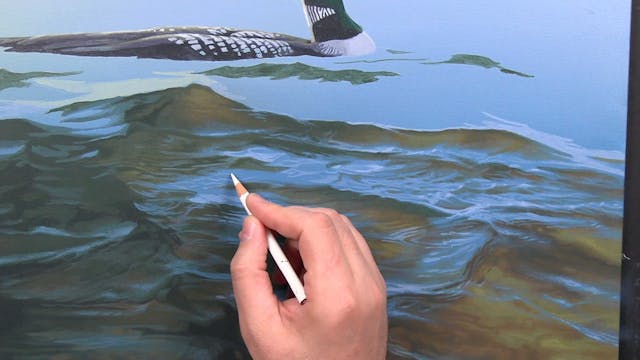
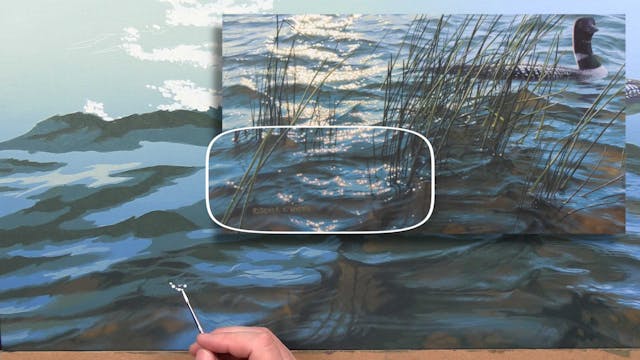
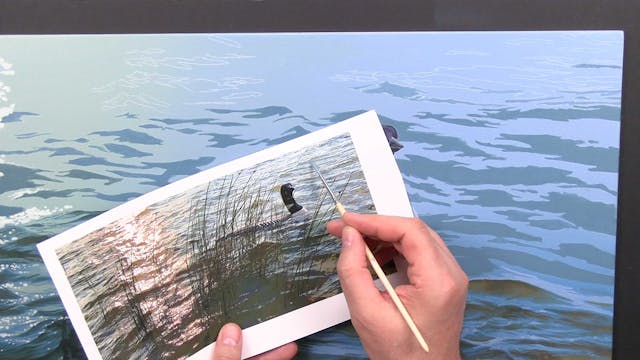
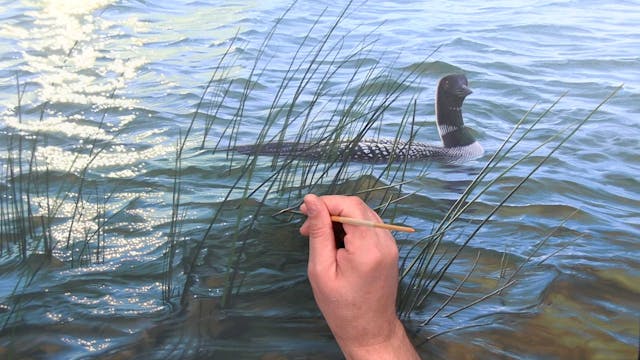
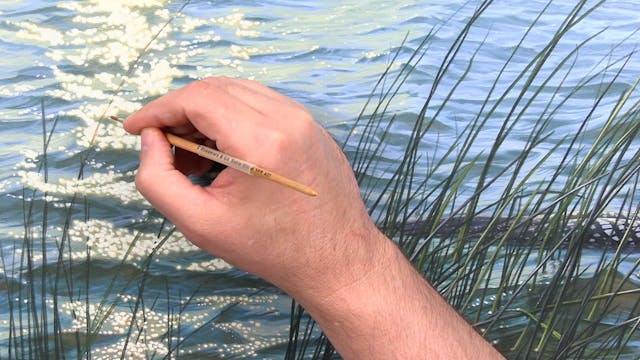
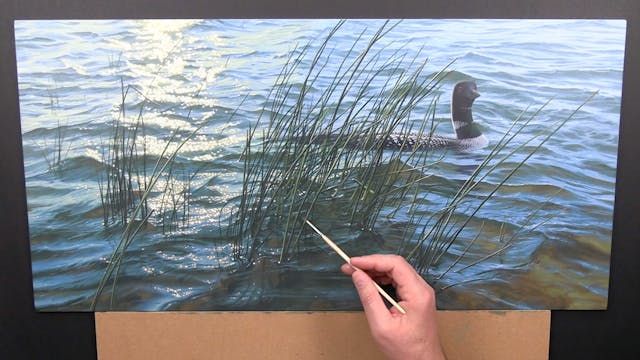
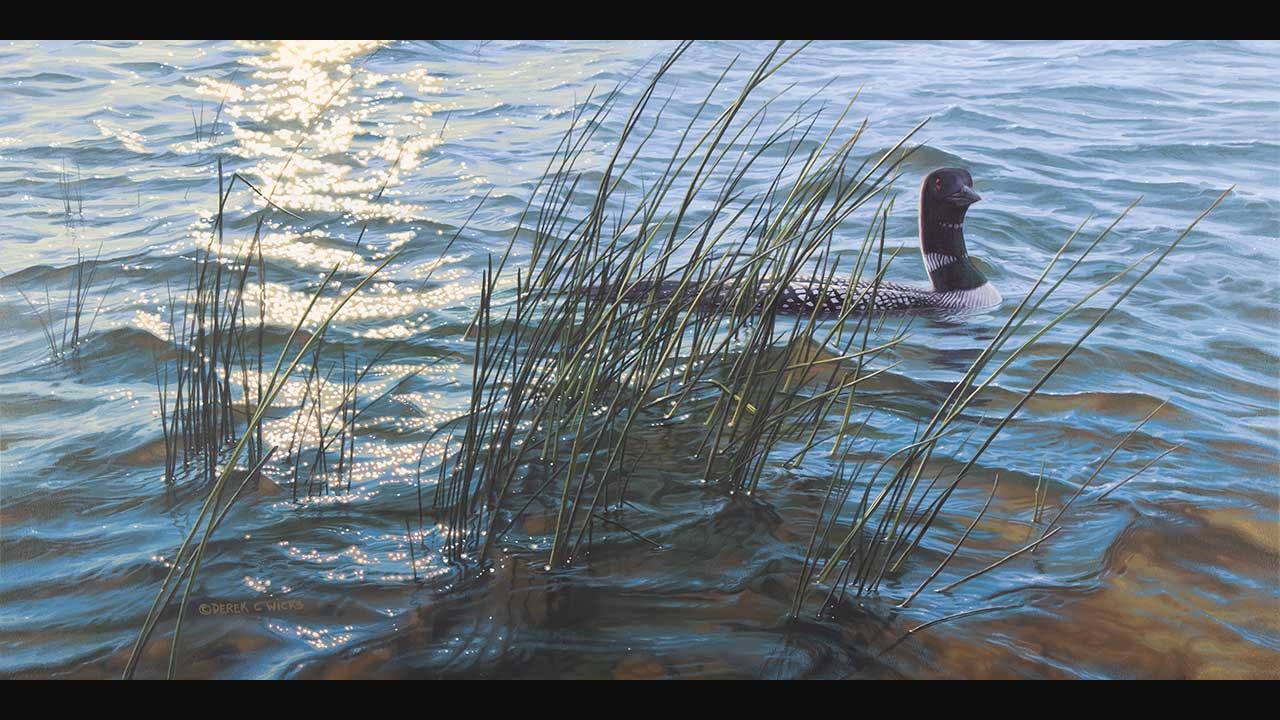
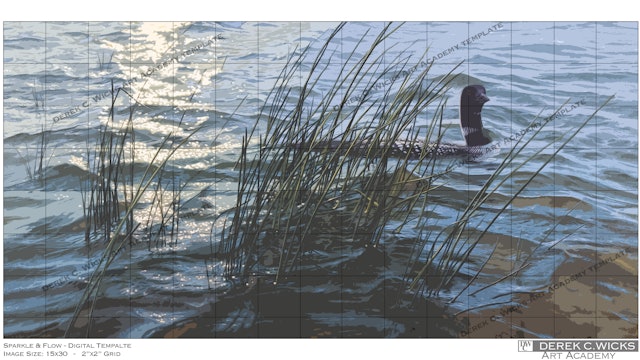
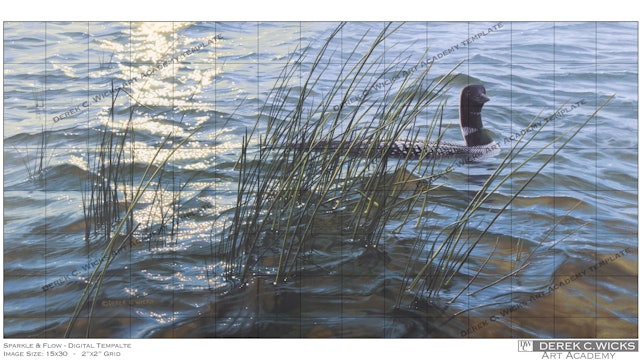
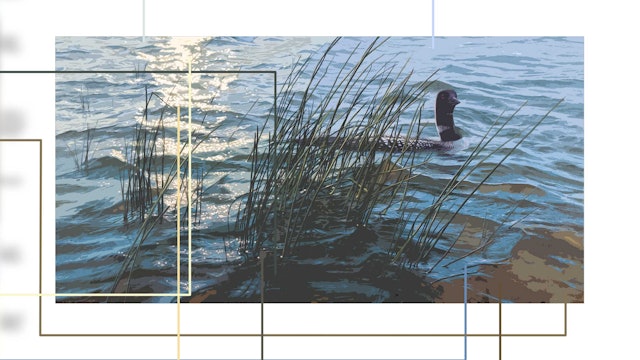
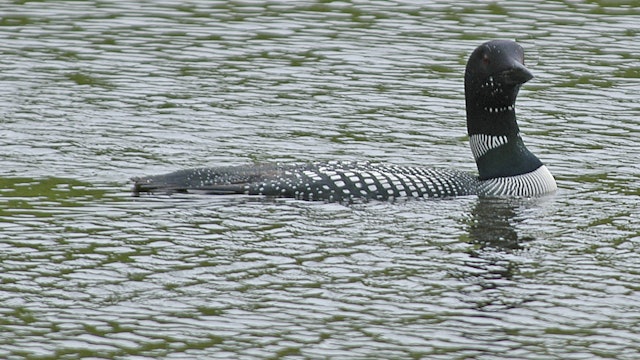
One of my favorite things to do is paddle a lake early in the morning and look for loons. This particular painting was inspired by the beautiful glitter on the morning water that made the whole area shimmer with warmth. I was very interested in the patterns the reeds made in contrast to the water and the strong 'swales' or choppy water the gusting wind made. Although I did not see a loon at this particular moment, I instantly envisioned a low riding loon cutting his way through the surging water amongst the reeds. It is little instances in my life like these that inspire the work I create back in the studio.
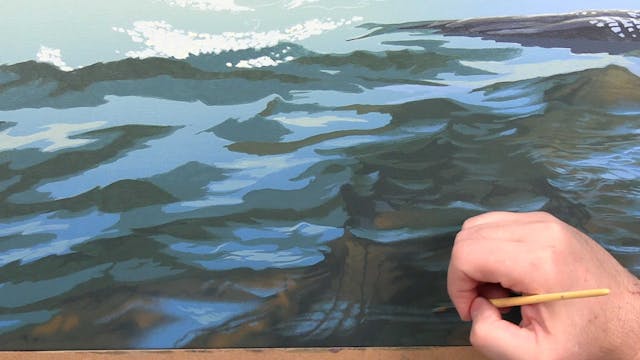
In this art lesson we will learn how to compose a piece using multiple references and inspiration. We will also learn how to take reference that has different lighting effects and create a new image that looks natural to the setting. Most of all we will learn how to take complex choppy water and break it down into manageable sections and create very detailed water patterns.
Difficulty: Intermediate to Advanced
Board Size: 15 x 30 Inches
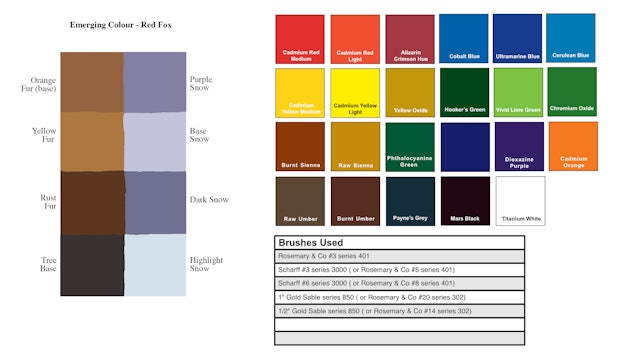
Lesson Aids: Blocking In Template, Colour Template, Materials List, Reference Photos.
-
Sparkle And Flow Pt.1
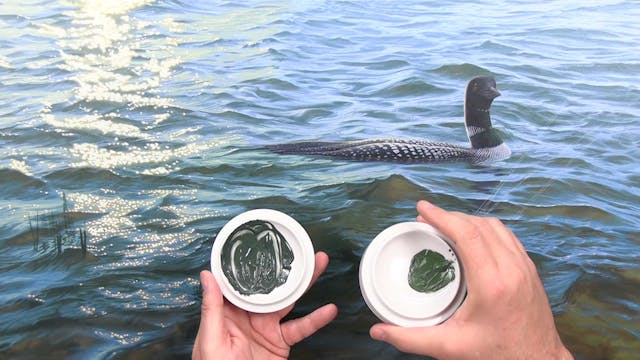
In this first part we will mix our base colours and start to block in our painting.
-
Sparkle And Flow Pt.2
In the second part of the art lesson we blocking our local colour and start to blend our spaces to create soft flowing water.
-
Sparkle And Flow Pt.3
In this part we finish off the detailing of the bottom right corner and start to build up our shape and form in the bottom middle of the painting.
-
Sparkle And Flow Pt.4
In this part we continue to work through the middle of the painting building up the flow or 'swales' of our water.
-
Sparkle And Flow Pt.5
In this part of the painting we start to detail the 'reflective' areas of the bottom-middle right of the original.
-
Sparkle And Flow Pt.6
With the bottom-right side of the painting done we move over to the bottom-left and start to build up our shape and form.
-
Sparkle And Flow Pt.7
In part seven we learn to break down the bottom-left into more manageable sections to create a flow in our choppy water.
-
Sparkle And Flow Pt.8
We finish off the bottom section of the painting with softening and then detailing the to create flow swales in our water.
-
Sparkle And Flow Pt.9
In part nine of the lesson we learn how to break up the background water into basic shapes that will form our water.
-
Sparkle And Flow Pt. 10
In this tenth part we will add shape and form to our basic shapes and then detail the far left water.
-
Sparkle And Flow Pt.11
In this part we move over to the top-right and again start to break down our water into basic shapes.
-
Sparkle And Flow Pt.12
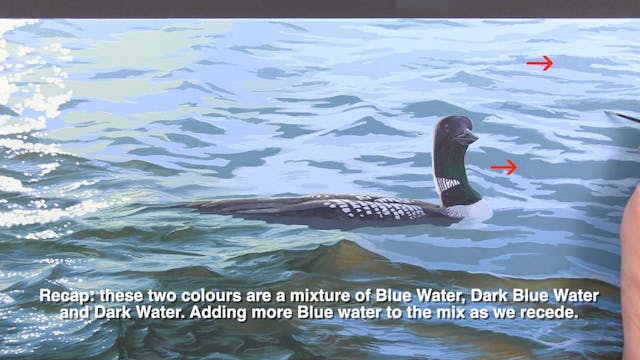
In this 12th part of our art lesson we start to build up the water behind the loon through shape and form and then add detail.
-
Sparkle And Flow Pt.13
This part starts with painting the transition between the bottom and top right of the painting. We then move on to detailing the background water.
-
Sparkle And Flow Pt.14
In this part we continue to paint the water in the background, learn how to vary our swales in height and in colour.
-
Sparkle And Flow Pt.15
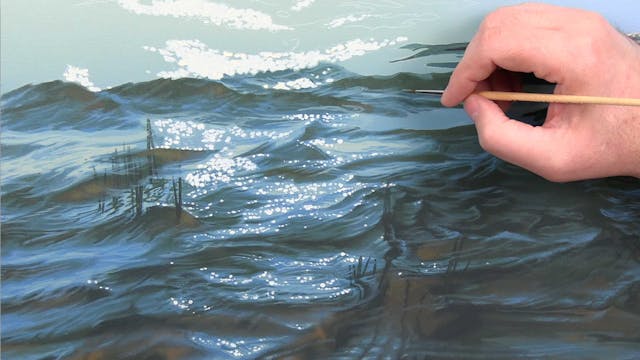
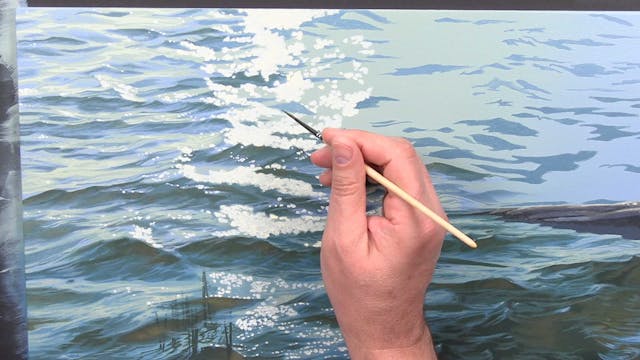
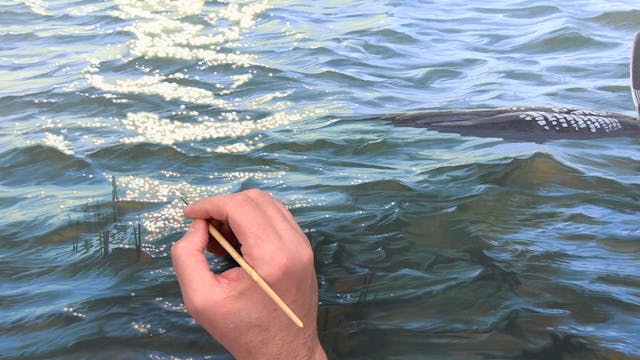
With our water well in hand we move on to adding warmth and 'glitter' to our sparkles to make our water shimmer.
-
Sparkle And Flow Pt.16
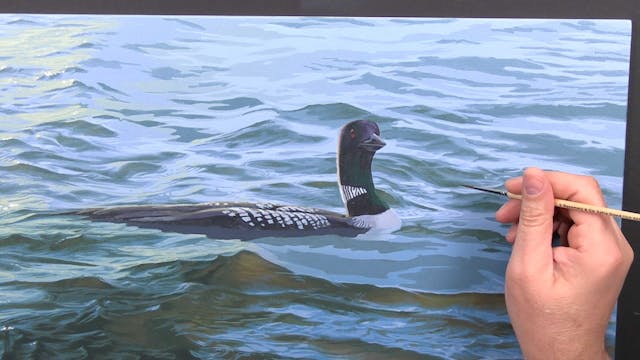
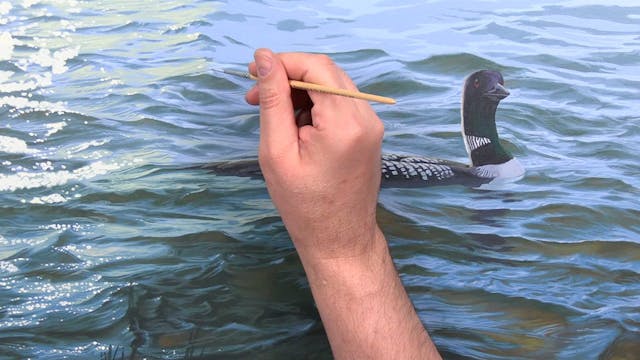
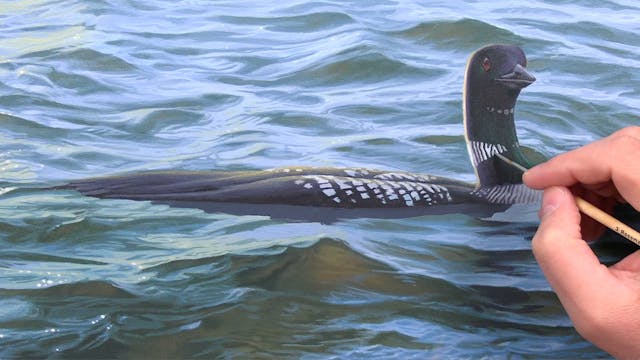
In this section we move on to painting the loon. We will learn how to manipulate blacks and white to have stronger values.
-
Sparkle And Flow Pt.17
We start this part by painting the loons reflection in the water and then move on to laying down the start of our reeds.
-
Sparkle And Flow Pt.18
In this part we start the daunting task of creating our reeds. We learn how to break up the reeds and paint by sections.
-
Sparkle And Flow Pt.19
In this part we learn how to paint the subtle modulations in the reeds to create depth and also learn to paint warmth into crossing reeds.
-
Sparkle And Flow Pt.20
In this final part we 'clean up' our painting with finishing touches, and add in our foreground reeds to add depth.
-
 3.33 MB
sparkle-flow-blockingin.jpg
3.33 MB
-
 4.48 MB
sparkle-flow-template.jpg
4.48 MB
-
 1.53 MB
materials-list-sparkle-flow.jpg
1.53 MB
-
 2.74 MB
sparkle-flowblocking-in-list.jpg
2.74 MB
-
 1.42 MB
loon-reference.jpg
1.42 MB
-
 2.77 MB
water-reference.jpg
2.77 MB