Rock And A Hard Place
Run Time: 3Hr 12 Min
Video Size: 1920 x 1080 Full HD
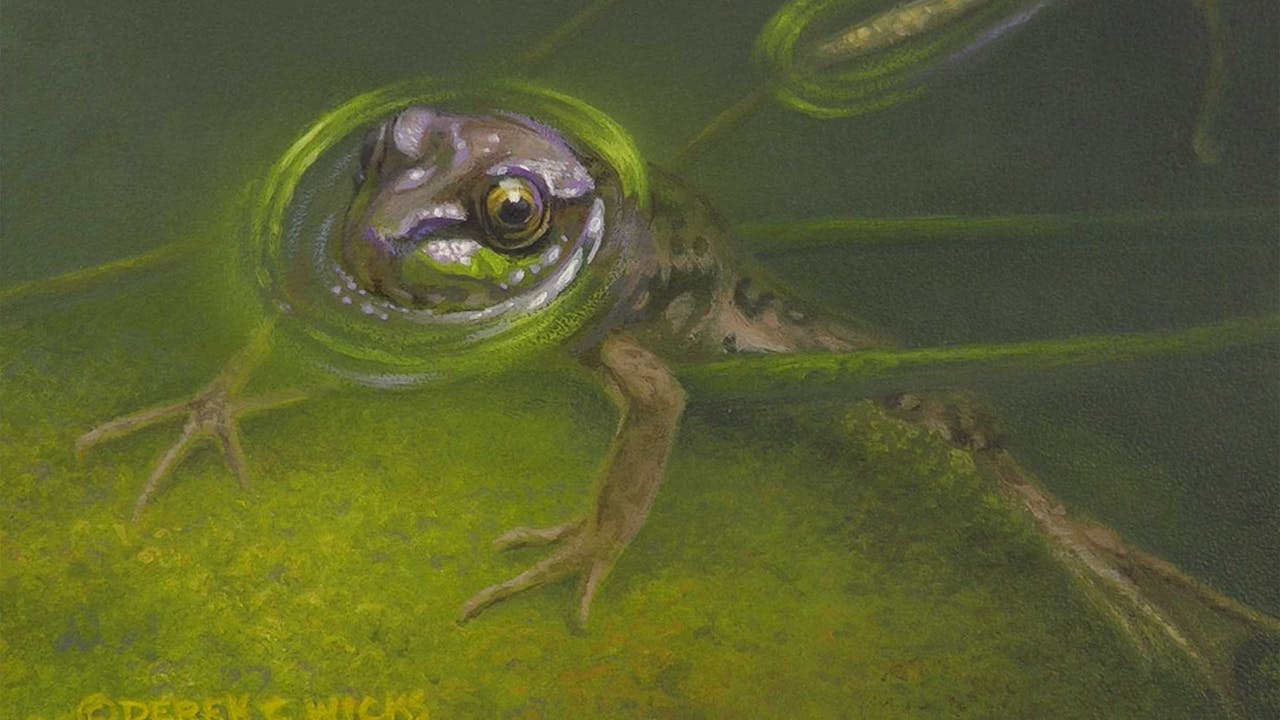
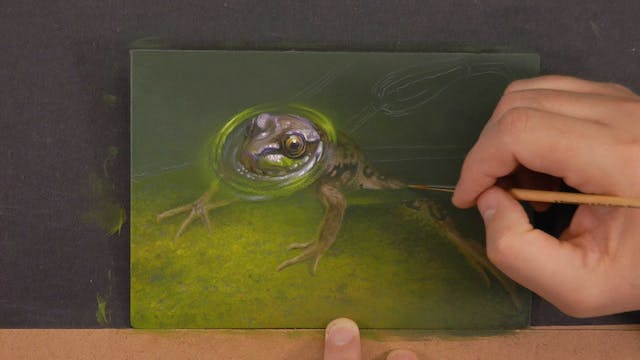
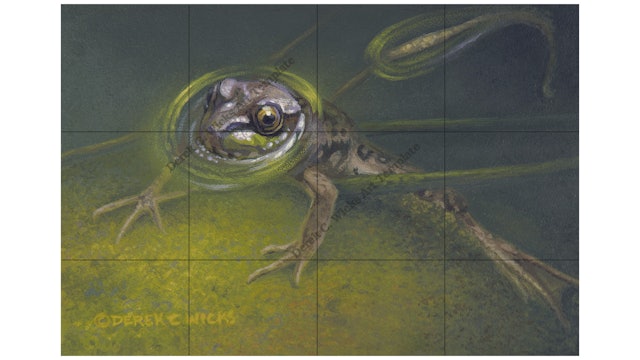
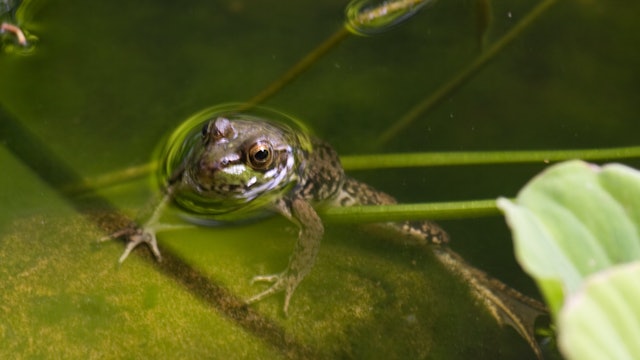
This painting was inspired by many days beside the pond and water fall at my old house. I found it so relaxing to sit beside the pond and watch birds bath on the ledge of the waterfall and listen to the sounds of peepers, greens and leopard frogs vocalize. Rock and a hard place is one of those moments captured in time with a painting.
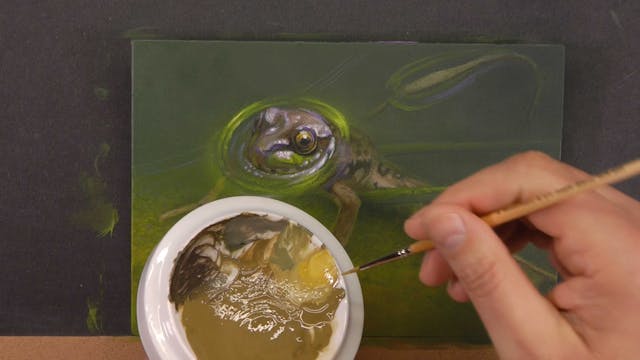
For this tutorial we will break out the sponges and learn how to add subtle texture to water and create that 'murky' look. We will also learn how to use such techniques as dry brush and glazes to add effects to our water, and do not forget about our frog! We will learn how to use our vales to create shine, shape & form and marking on our frog.
Difficulty: Beginner
Board Size: 5 1/2 x 8 Inches
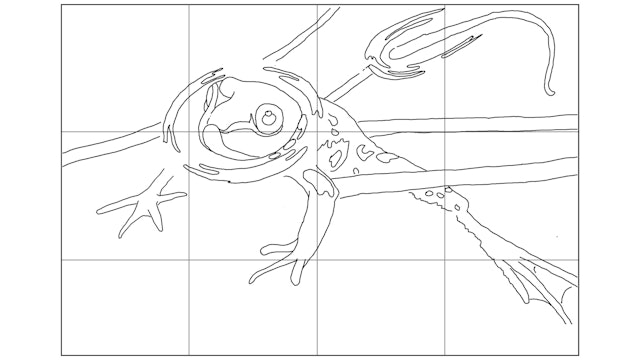
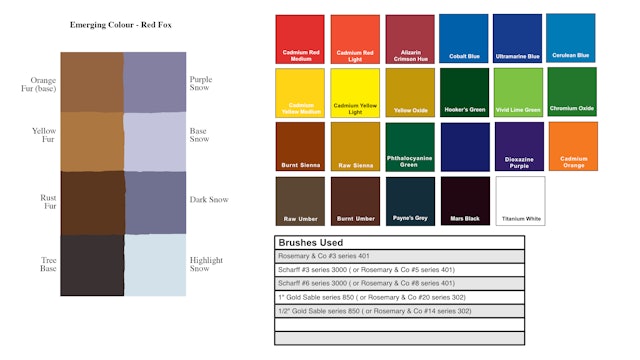
Downloadable Lesson Aids: Line Drawing, Colour Template, Materials List, Reference Photo.
-
Rock And A Hard Place Pt.1
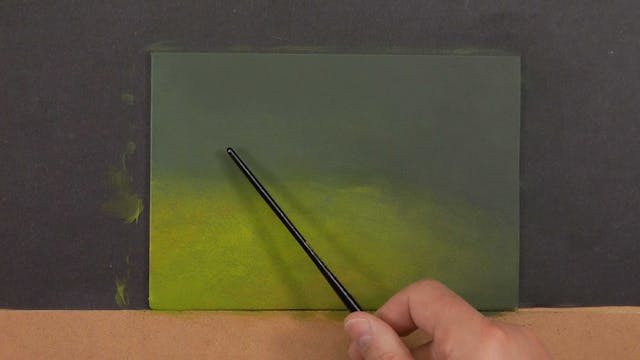
In part one we discuss modifying reference to create a stronger composition, mix our base colours and apply blends to our board.
-
Rock And A Hard Place Pt.2
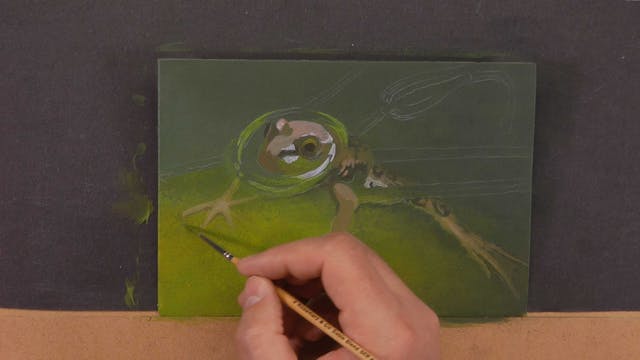
In part two we first apply texture to our blended colours and then block in the frogs basic shape and form.
-
Rock And A Hard Place Pt.3
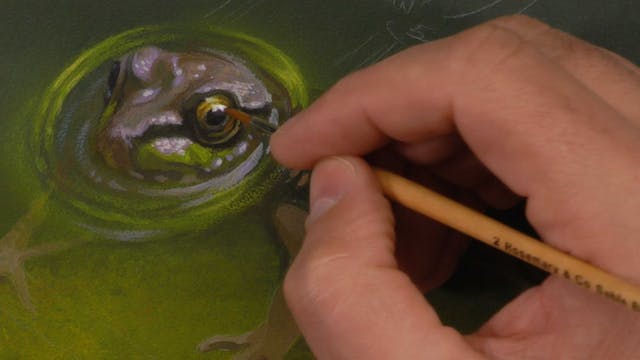
With blocking in completed we now move on to refining the shape and form in the frogs head and then apply initial detail.
-
Rock And A Hard Place pt.4
In the fourth part of this lesson we finish painting the body of the frog and then move on to adding texture to the algae and create a murky water look.
-
Rock And A Hard Place Pt.5
In this final part we paint the supporting elements, the lily stocks. Here we learn how to soften hard lines that draw the eye out of the composition.
-
rock-hard-place-line-drawing.jpg
583 KB
-
materials-list-rock-hard-place.jpg
1.41 MB

