Winter Filigree
Run Time: 9Hr 3 Min
Video Size: 1920 x 1080 Full HD
Purchase Price in USD.
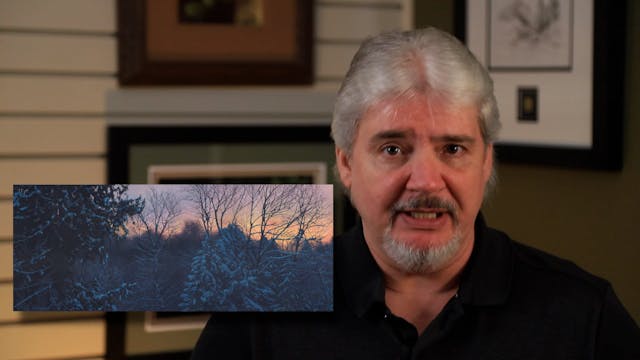
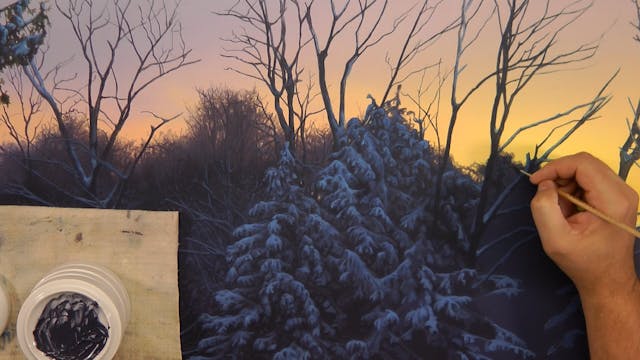
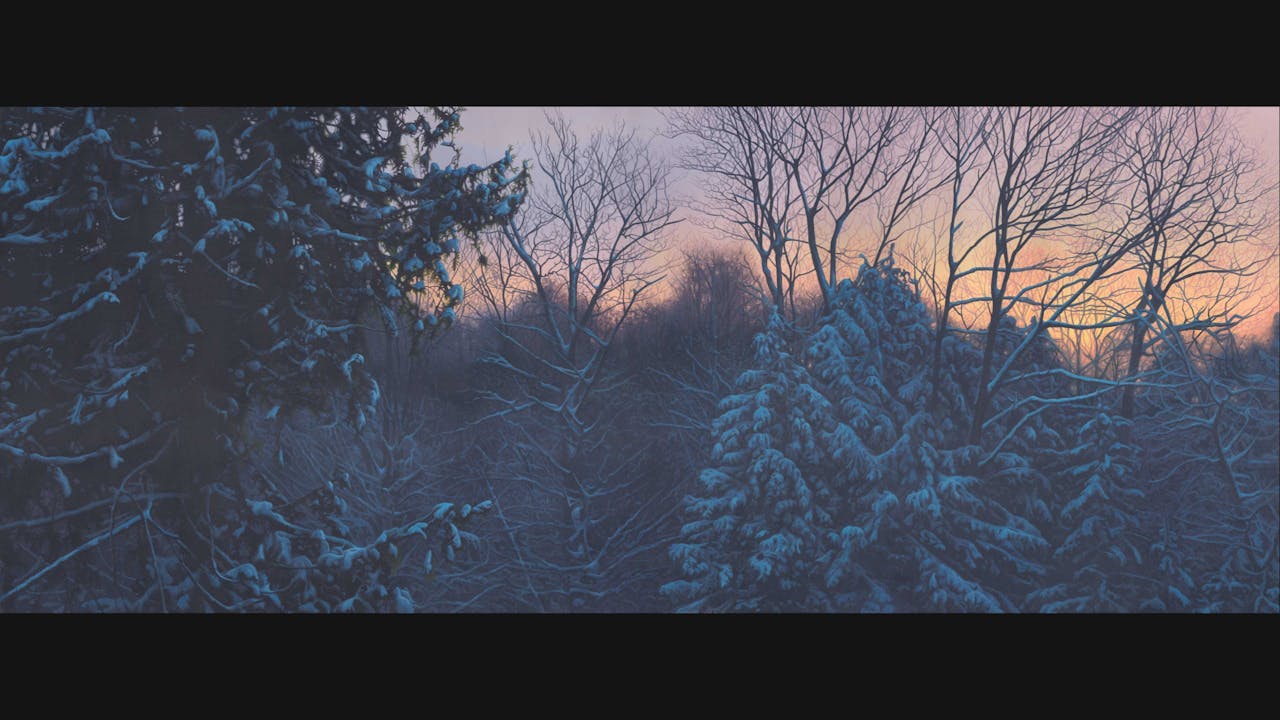
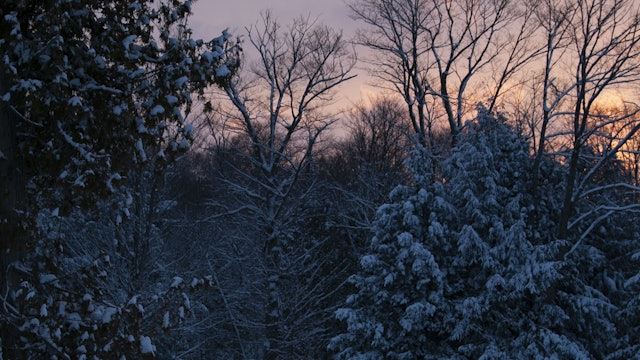
Winter filigree is a view from my back porch on a gorgeous winters eve sunset. One evening while out playing frisbee with my dog Tuk I looked to the sky and was instantly inspired to paint the scene I was experiencing. With the contrast of dark and light and warm and cool, I had to paint that moment in time.
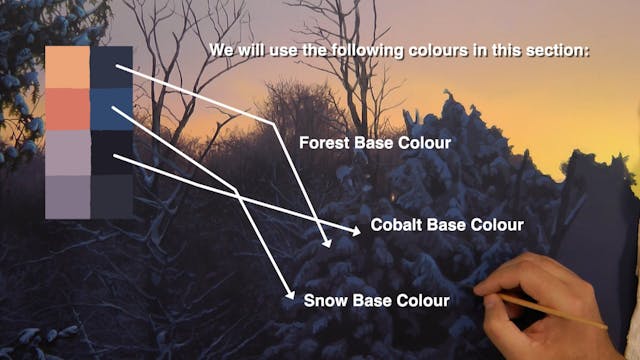
In this tutorial learn how to breakdown complexed composition and create extensive detail with ease. Learn to vary textures and temperature to create a calming sunset to remember.
Difficulty: Intermediate to Advanced
Board Size: 12 x 30 Inches
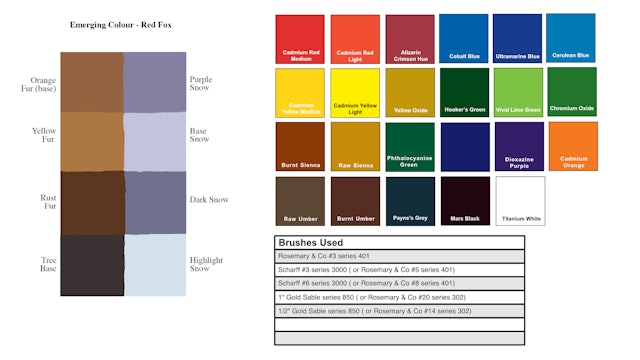
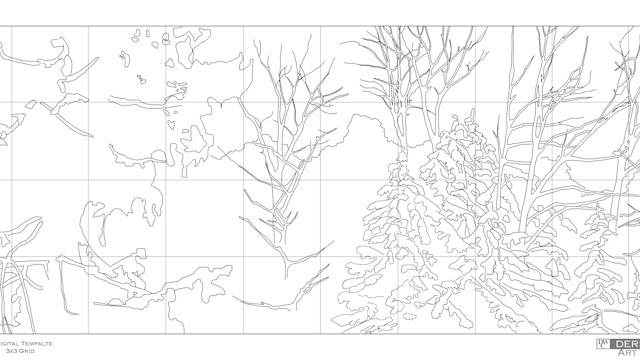
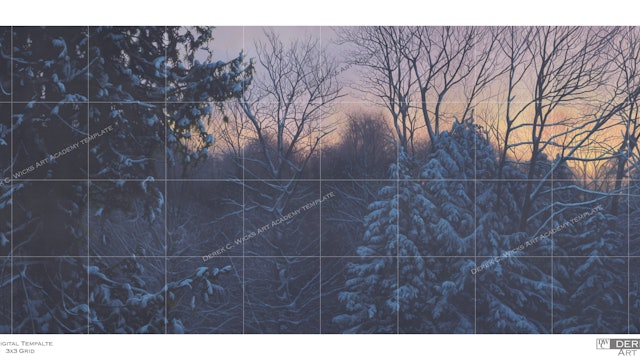
Downloadable Lesson Aids: Line Drawing, Colour Template, Materials List, Reference Photo.
-
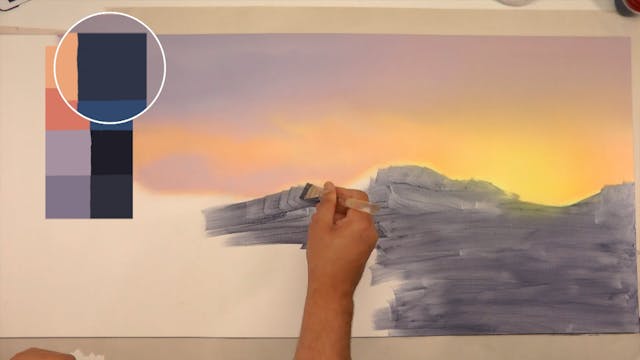
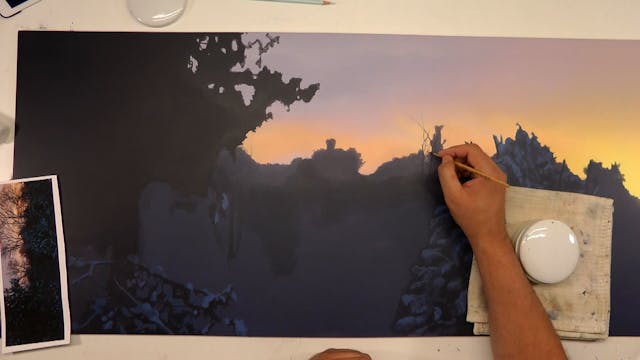
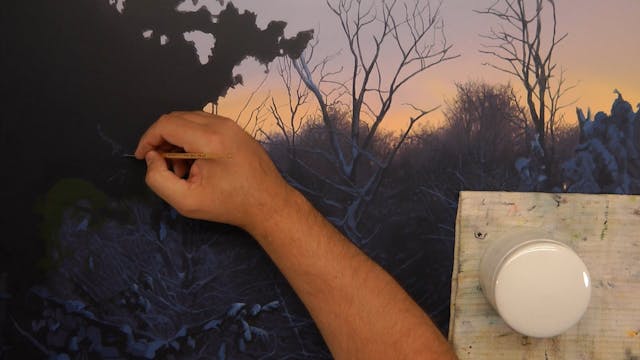
Winter Filigree Pt.1
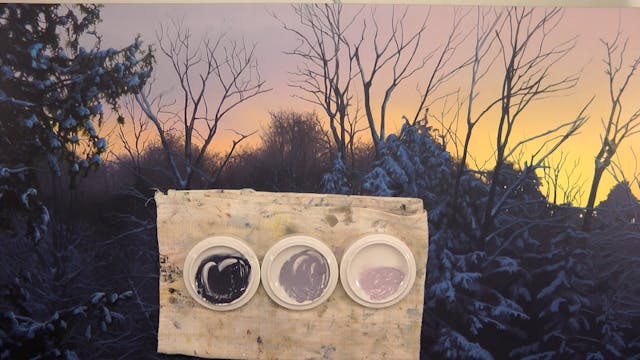
In this first chapter we mix our base colours and start to block in the sky area. Simple brush and paper tricks are shown for creating subtle cloud lines.
-
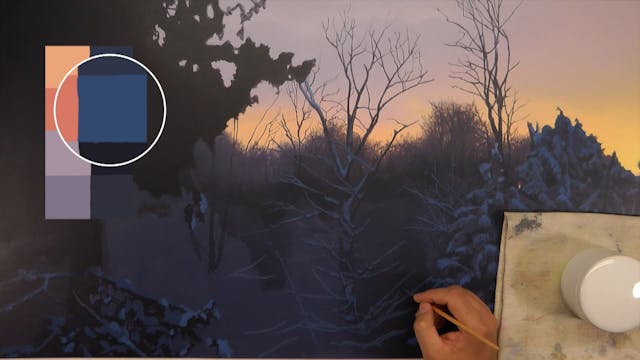
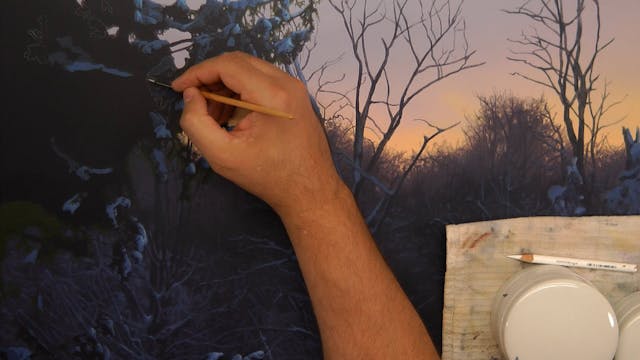
Winter Filigree Pt.2
In this part we block in our treelike and start with our simple shape to start creating some form.
-
Winter Filigree Pt.3
In this part we start to build up the initial shape and form of the coniferous trees to the right of the painting, rendering small areas at a time.
-
Winter Filigree Pt.4
In this section we continue to break down the coniferous trees section by section through painting initial shape and form.
-
Winter Filigree Pt.5
This this part we create the back tree-line and start to paint the initial structure of the foreground tree.
-
Winter Filigree Pt.6
In this part we start to create the structure of the foreground tree and learn how to mange complex shapes and textures.
-
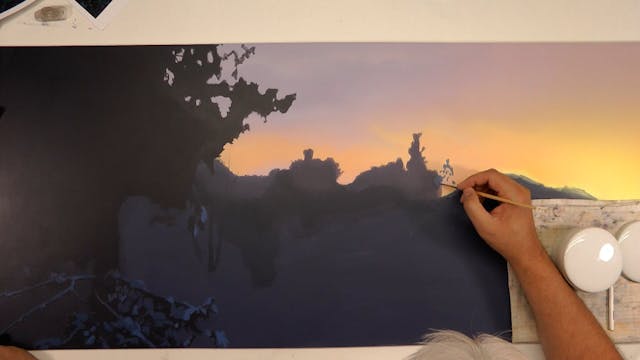
Winter Filigree Pt.7
With the basic structure of our tree laid we start to detail the complex shapes in the background tree-line.
-
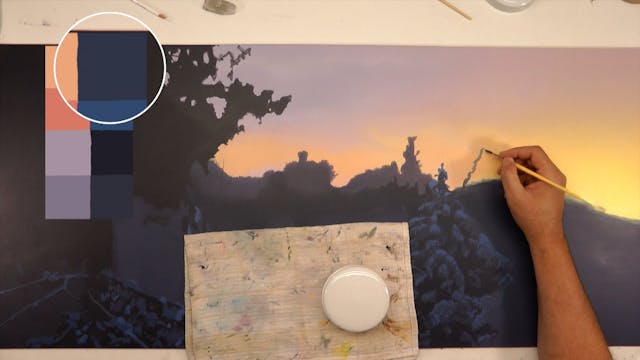
Winter Filigree Pt.8
In this part we paint extensive detail in the back tree-line on the left of the painting. We will also learn to use washes to add colour and soften.
-
Winter Filigree Pt.9
In this part we begin to build up the foreground cedar tree. We start by placing large snow areas and other 'locating' shapes.
-
Winter Filigree Pt.10
In this part we continue to build up and detail the white cedar in the foreground with the use of negative painting.
-
Winter Filigree Pt.11
In this part we move on to detailing the evergreens in the foreground in the middle of the painting.
-
Winter Filigree Pt.12
In this part we continue to detail the evergreen trees in the middle of the painting.
-
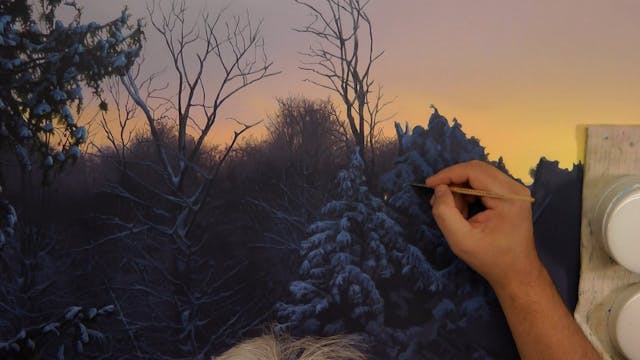
Winter Filigree Pt.13
In this part we move over to the right side of the painting and start to build up both the back tree-line and the foreground trees.
-
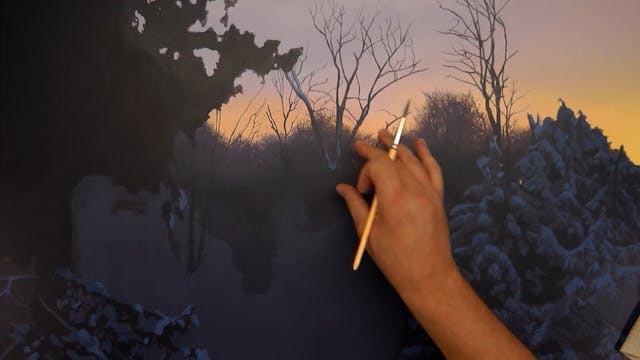
Winter Filigree Pt.14
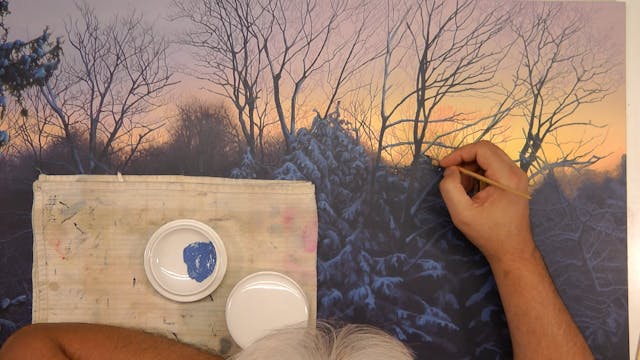
In this part of the tutorial we start to paint the thousands of tree branches that cover our sunset sky.
-
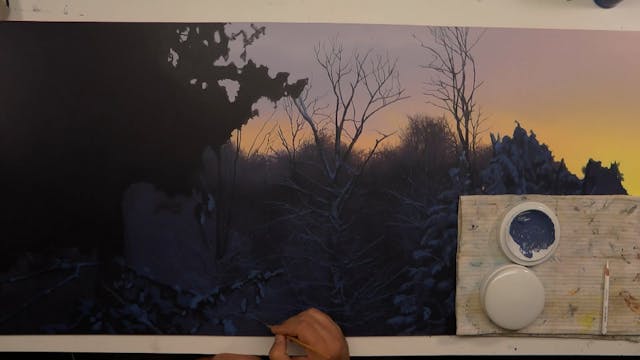
Winter Filigree Pt.15
In this part we learn to paint 'glowing' branches over the light source and continue to paint in branches over the sunset sky.
-
Winter Filigree Pt.16
In this part we detail the foreground foliage and add more detail and branches to the sunset sky area.
-
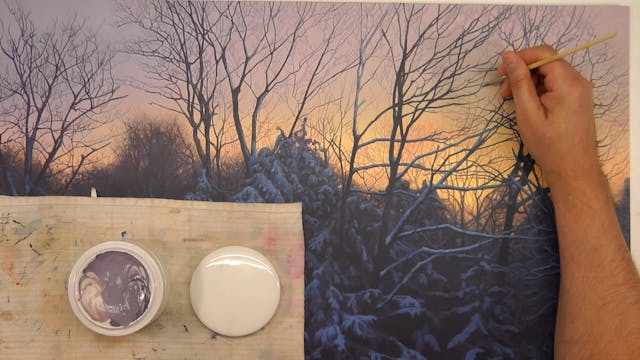
Winter Filigree Pt.17
In this part we continue to detail branches and learn to soften the piece through washes/glazes.
-
Winter Filigree Pt.18
In this final part we add final detail to our white cedar tree and then learn how to soften and blend the painting.
-
 1.69 MB
winter-filigree-line-drawing.jpg
1.69 MB
-
 3.32 MB
winter-filigree-template.jpg
3.32 MB
-
materials-list-winter-filigree.jpg
1.49 MB
-
 1.26 MB
winter-filigree-reference.jpg
1.26 MB