Snow Gazer
Run Time: 4Hr 13 Min
Video Size: 1920x1080 Full HD
Purchase Price in USD.
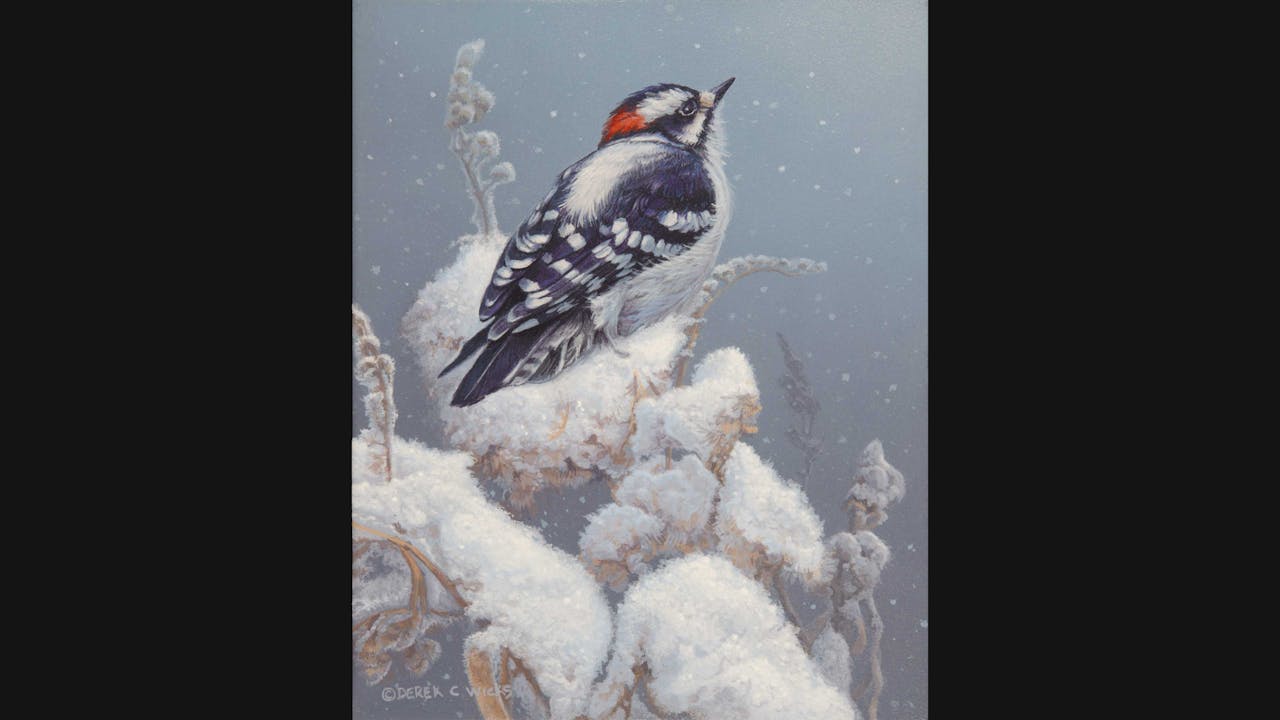
Snow Gazer was inspired by an encounter with a Downy Woodpecker on an afternoon walk. I loved the pose and initially did a pencil sketch which is the Downy Drawing tutorial. Once the sketch was completed I thought that the pose was too dynamic to limit to a black and white piece so I painted a full colour original which of course is Snow Gazer.
Snow Gazer instructs on how to create gradated backgrounds by hand, multi-colour bird feathers and soft billowing snow. Also learn how to create depth with minimal elements.
Difficulty: Beginner
Board Size: 10 x 8 Inches
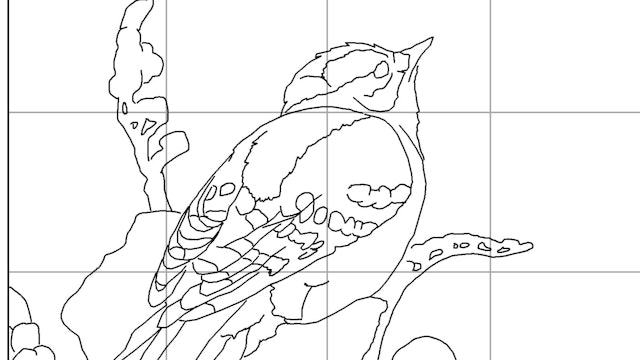
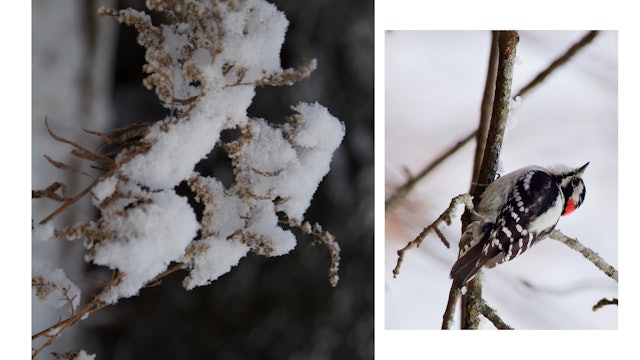
Downloadable Lesson Aids: Line Drawing, Colour Template, Materials List, Reference Photo.
-
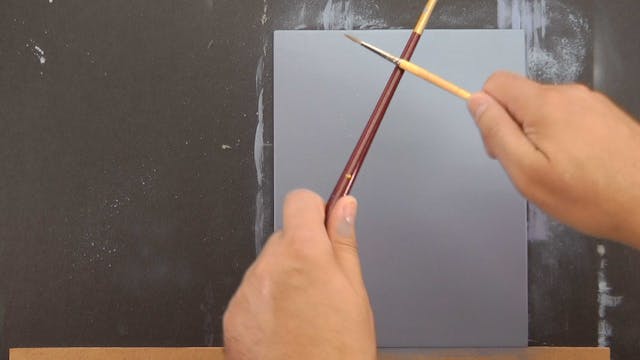
Snow Gazer Pt.1
In part one we mix our base colours and then block in the art board, painting a gradation using brush and sponge techniques.
-
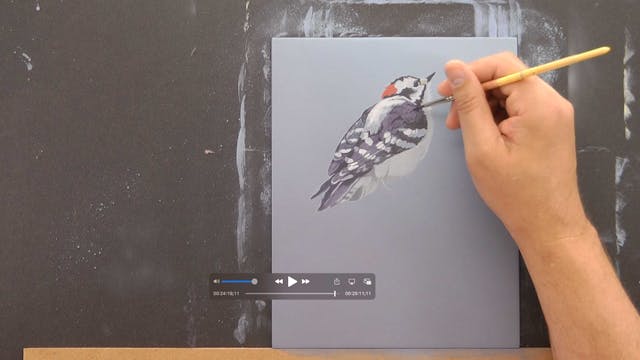
Snow Gazer Pt.2
In this part we will use our base/local colours to block in the bird.
-
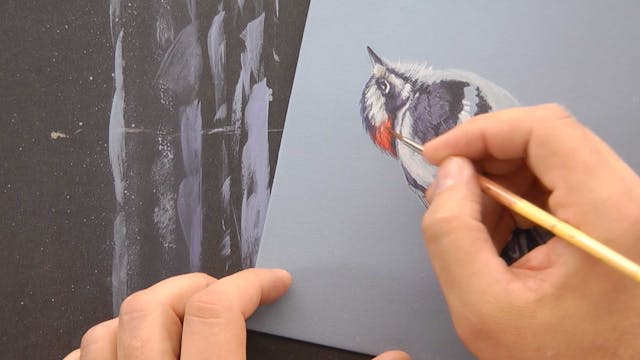
Snow Gazer Pt.3
In this part we add detail to the Downy's head.
-
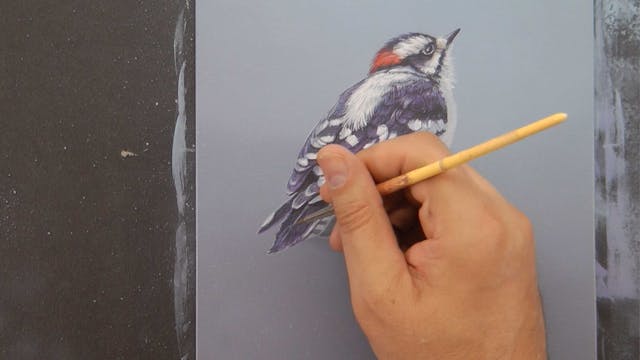
Snow Gazer Pt.4
In this part we refine the shape and form of the back and wing feather and then add detail.
-
Snow Gazer Pt.5
In this part we lay down the base colours for the snow covered golden rod, making sure to create a 'rounded' look.
-
Snow Gazer Pt.6
In this part we refine the snows shape and start to add detail through dry brush and stippling.
-
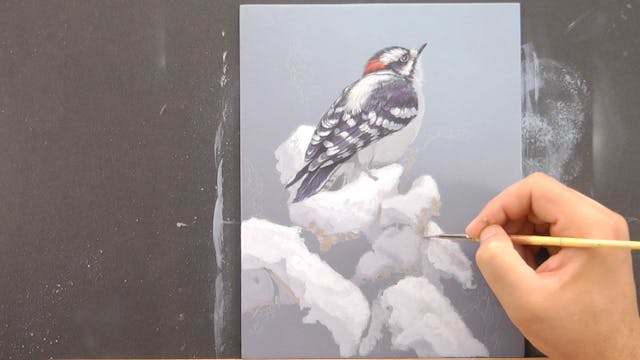
Snow Gazer Pt.7
In this section we add even more detail to the snow and start to refine the browns and warms in our foliage.
-
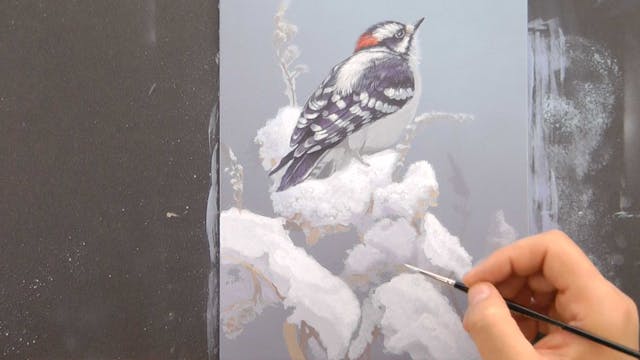
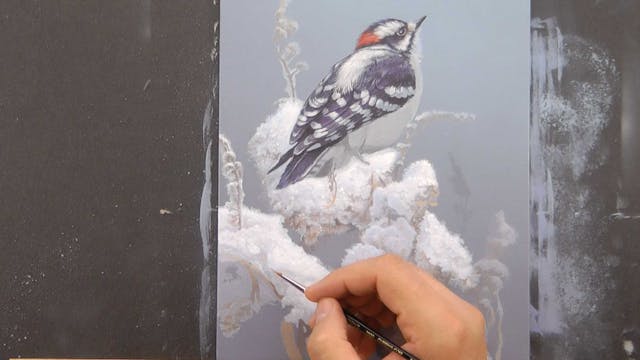
Snow Gazer Pt.8
In this part we detail our foliage and learn how to soften shapes in the background to create depth.
-
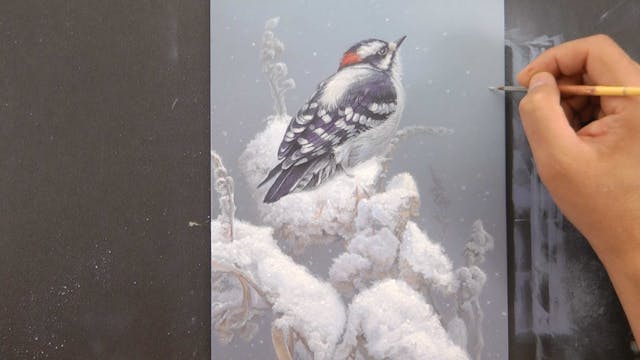
Snow Gazer Pt.9
In the final part we add detail to the tail feather and the back of the bird. We then use a spatter effect to create falling snow.
-
 564 KB
snow-gazer-line-drawing.jpg
564 KB
-
 1.87 MB
snow-gazer-template.jpg
1.87 MB
-
 1.53 MB
materials-list-snow-gazer.jpg
1.53 MB
-
 1.02 MB
snow-gazer-reference.jpg
1.02 MB