Perfect Perch
Run Time: 2Hr 56 Min
Video Size: 1920x1080 Full HD
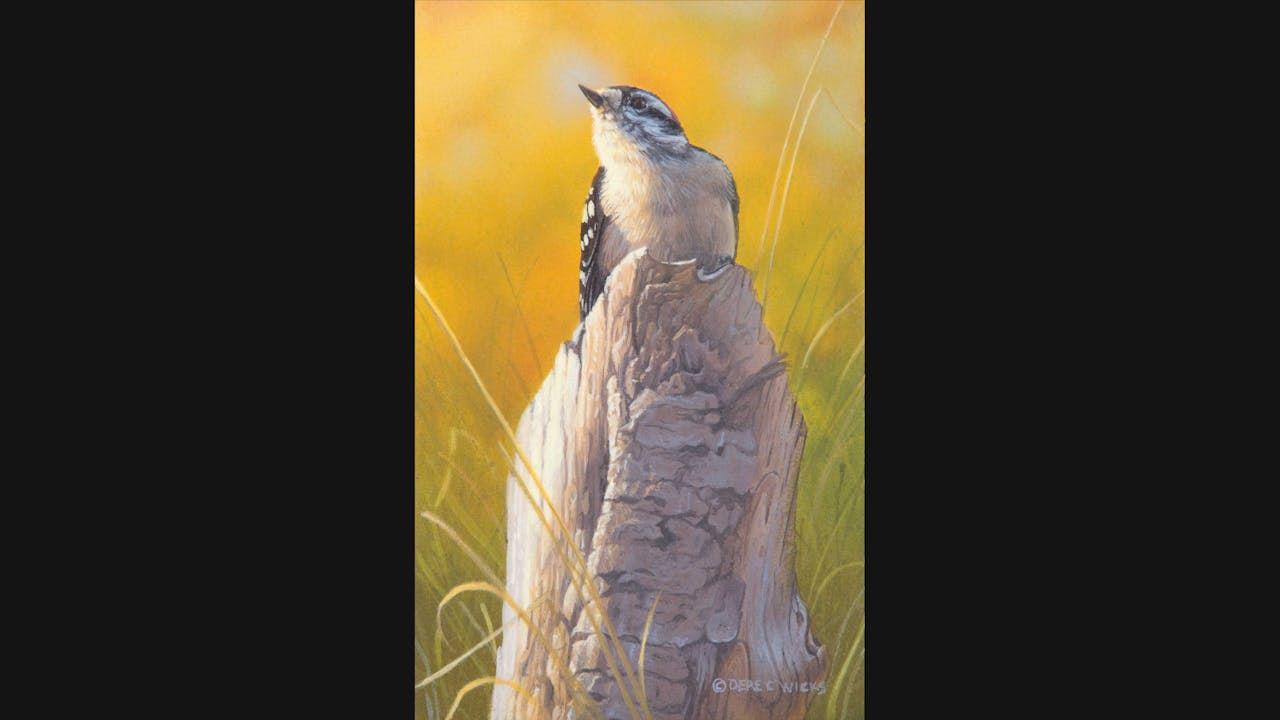
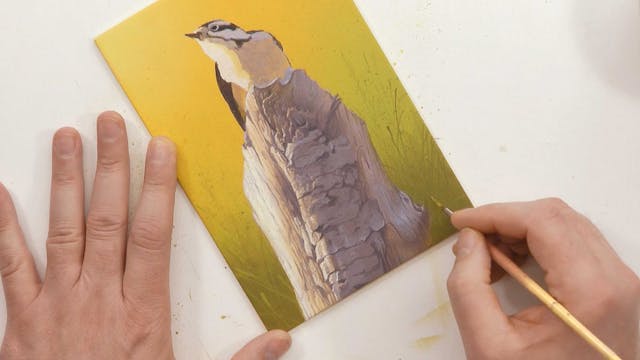
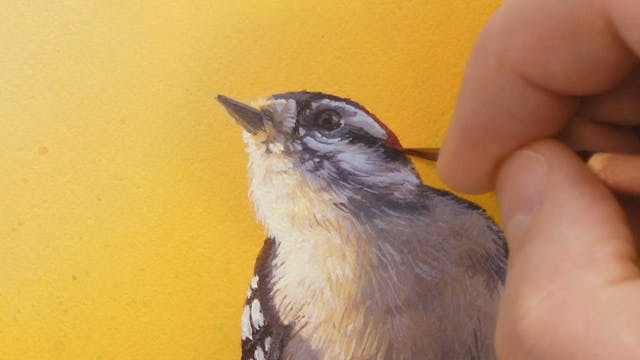
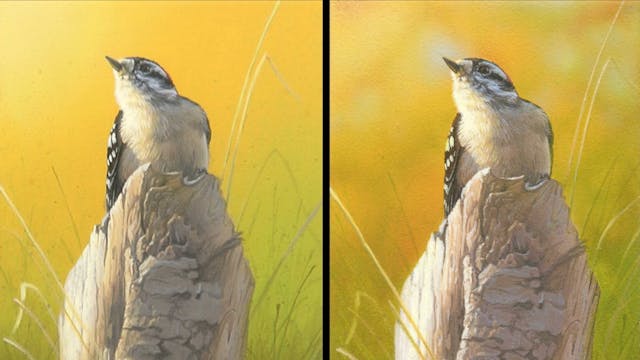
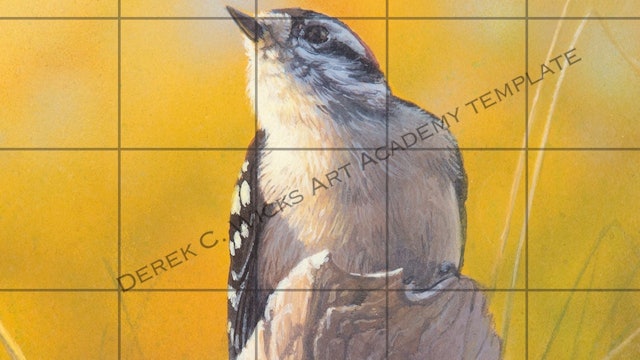
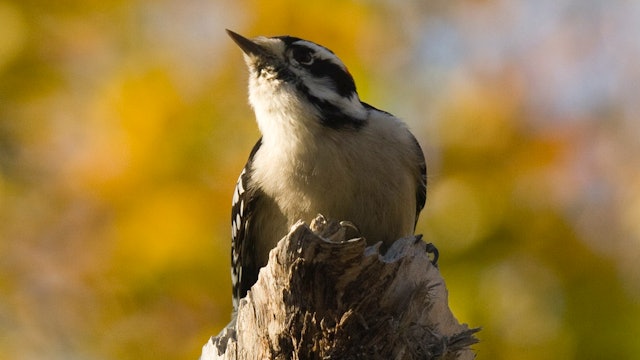
The perfect perch was inspired by a split second photograph of a male Downy Woodpecker. This little guy flew in and perched on this dead wood, had a quick one second look at me, and then flew off into the deep woods. The encounter was so quick I did not think I got the shot of him and was very surprised to find that I did in fact get a great shot of him! The dynamic pose of him ready to launch himself into flight instantly attracted me to paint the setting. A few minor changes, a more interesting background, and we were in business.
In this tutorial we will learn to paint detailed birds, wood textures, grasses and how to defused backgrounds. Techniques include stippling, dry brush spattering and a quick demo of airbrush. As an added element also learn how to rework a background to enhance the painting.
Difficulty: Beginner
Board Size: 8 x 5 Inches
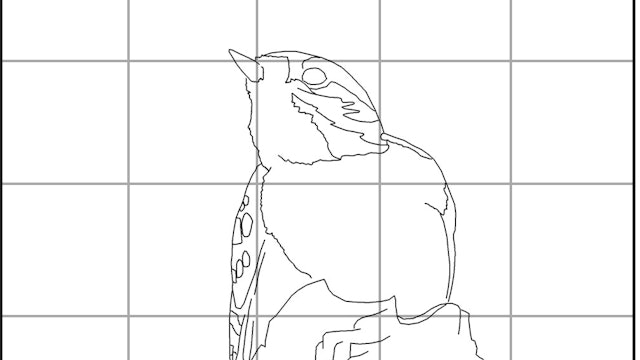
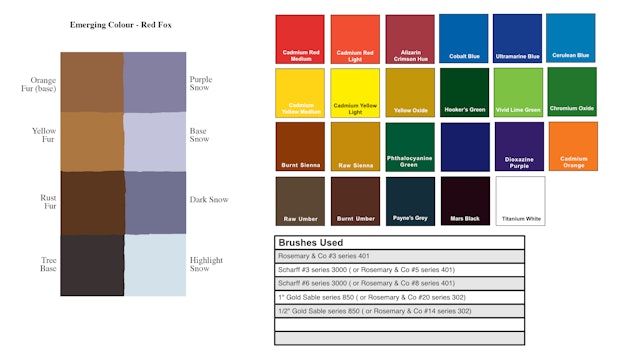
Downloadable Lesson Aids: Line Drawing, Colour Template, Materials List, Reference Photo.
-
Perfect Perch Pt.1
In this first part we bock in our boards after set up our base local colours.
-
Perfect Perch Pt.2
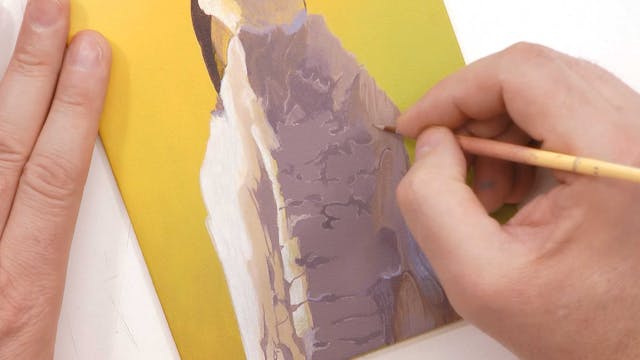
In this part we further block in the painting and then prep the wood area with blends and value changes.
-
Perfect Perch Pt.3
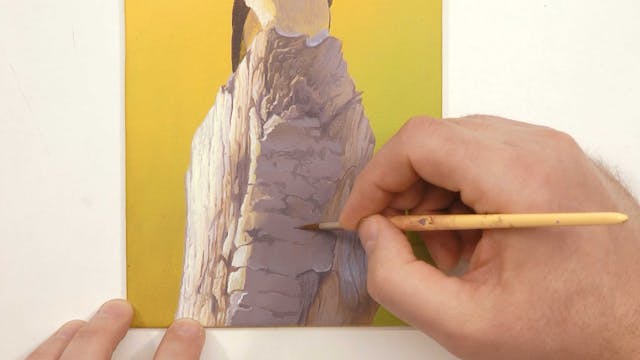
In this part we set up our shape and form in the wood perch and learn how to break it up, then detail the wood.
-
Perfect Perch Pt.4
In the fourth part we add detail to the wood textures and then move on to applying grasses to our background.
-
Perfect Perch Pt.5
With our wood done we now get to paint the bird. We learn how to apply heavy detail to the Downy Woodpecker.
-
Perfect Perch Pt.6
In this part we add final details to the wood and bird. As an option this part also shows how enhance a background with an airbrush (enhancement is not required to finish tutorial).
-
perfect-perch-line-drawing.jpg
251 KB

