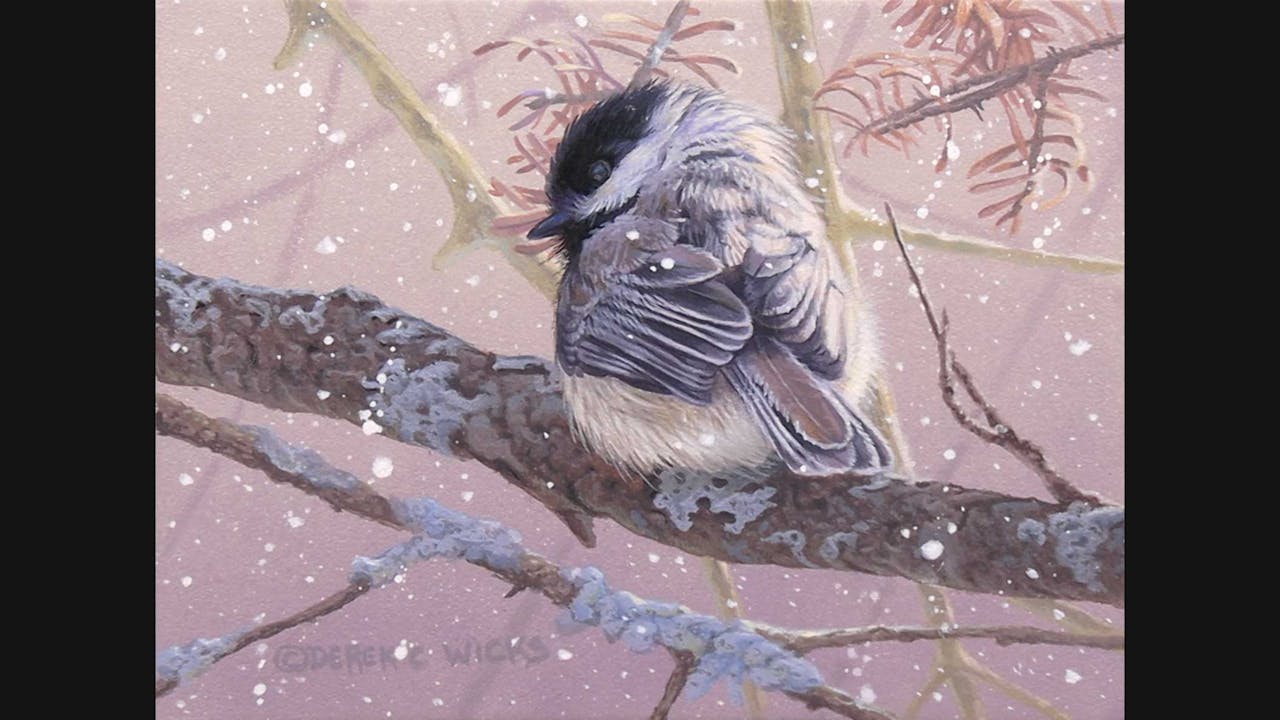
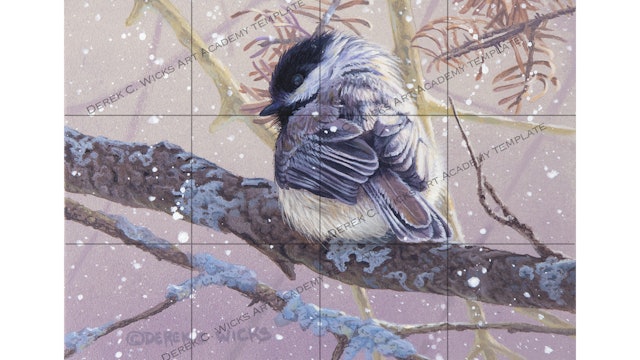
First Flurry
Run Time: 5Hr 54 Min
Video Size: 1920 x 1080 Full HD
Purchase Price in USD.
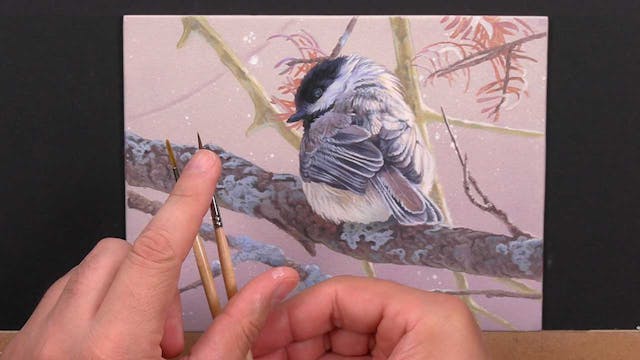
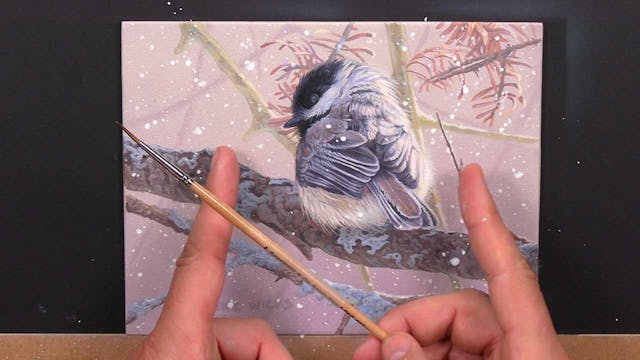
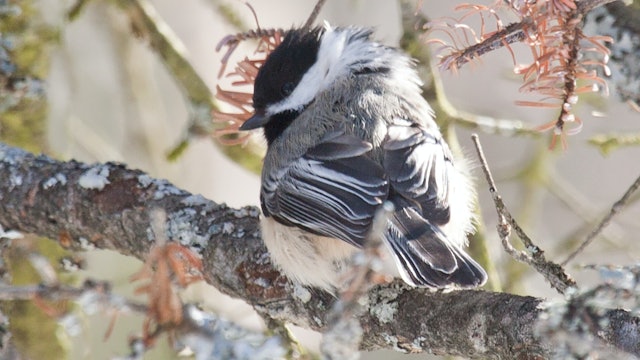
Black Capped Chickadee's have always been one of my favorite birds. They have the most character and always seem to be energetic little bundles of energy. One of the main reasons I love them is that I feed the local flock by hand. Feeding them never gets old to me. When I was asked to do a commissioned work of a Black Capped I jumped at the chance. With a few composition and colour changes to the the reference I was give and I was off to the races.
In this tutorial we will learn how to work with a client to create a commission piece of work that both wow's the client and feeds our artistic juices. Learn how to take a photo reference from a collector and identify what makes the photo appealing to them, and incorporate those elements into the original. We will learn how to paint feather, wood textures and show texture, while also creating a subtle muted background that still has bunch. We will also learn how to take our painting and use photoshop to work finer details and composition reworks before committing those changes to board.
Difficulty: Beginner
Board Size: 6 x 8 Inches
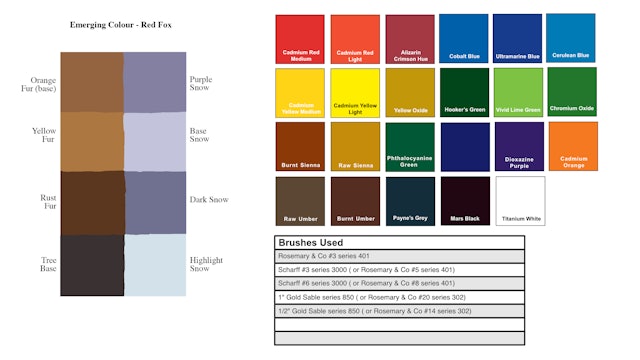
Downloadable Lesson Aids: Line Drawing, Colour Template, Materials List, Reference Photos.
-
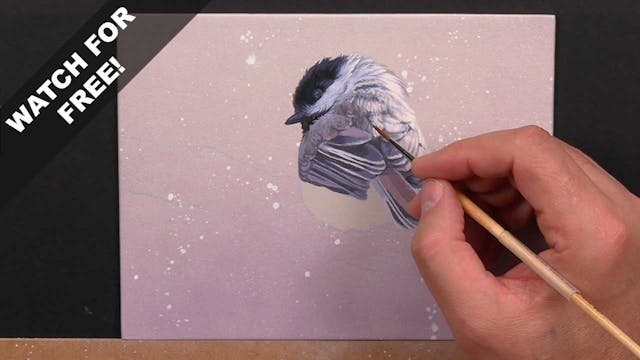
First Flurry Pt.1
In this first part we mix our colours and prime our board. We then learn to use a sponge to create our background text and then block in the bird.
-
First Flurry Pt.2
In the second part of this tutorial we will fine tune the shape and form of the head and add detail to both the head and back of the bird.
-
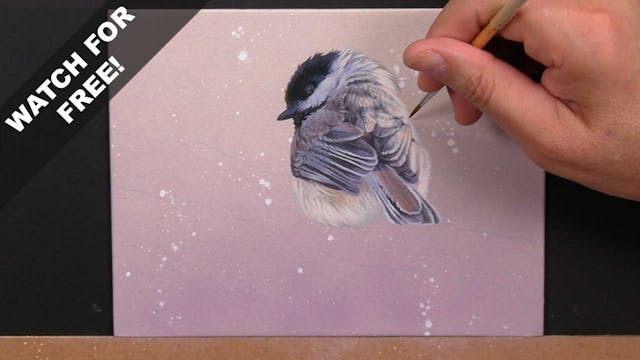
First Flurry Pt.3
In this part we finish off the detailing of the primary, secondary and tail feathers of the chickadee. We also add detail to the belly.
-
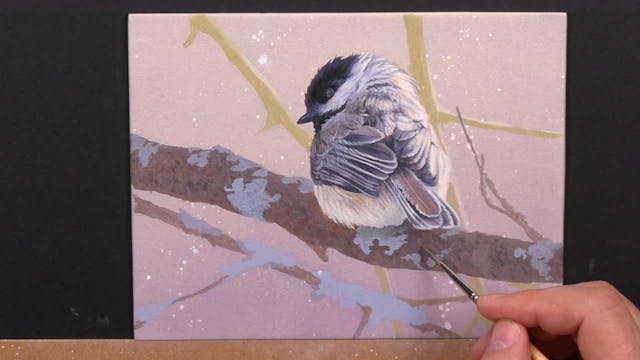
First Flurry Pt.4
In this part we block in our secondary elements and then add detail to the main branch in our composition.
-
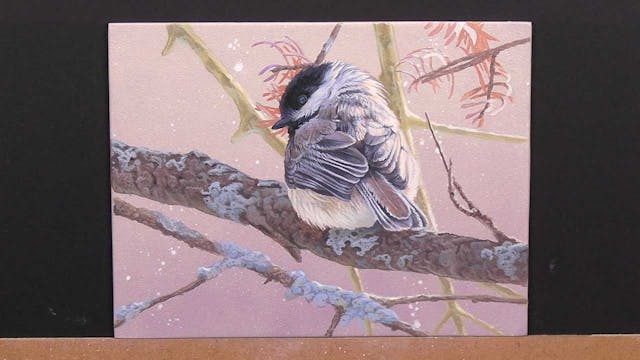
First Flurry Pt.5
In this part we detail the lower foreground branch and the two yellow background branches, finishing off with the pine needles.
-
First Flurry Pt.6
We start this section by photographing our painting and then importing into photoshop to work out some compositional challenges. We then drybraush background elements.
-
First Flurry Pt.7
In this final part we add finishing detail to our bird and learn how to 'soften' the painting off.
-
 791 KB
first-flurry-materials.jpg
791 KB
-
 788 KB
first-flurry-drawing.jpg
788 KB
-
 833 KB
first-flurry-reference.jpg
833 KB
-
 1.85 MB
first-flurry-template.jpg
1.85 MB