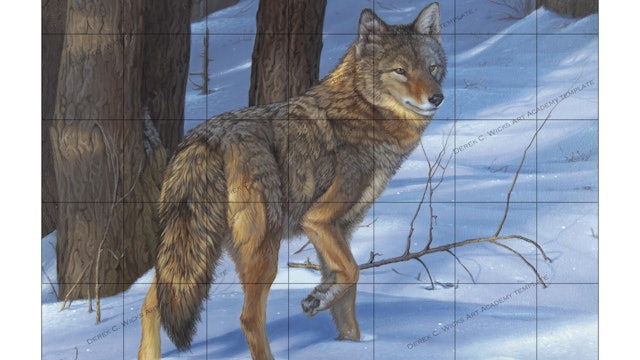
Evening Perambulation
Run Time: 9Hr 3 Min
Video Size: 1920 x 1080 Full HD
Purchase Price in USD.
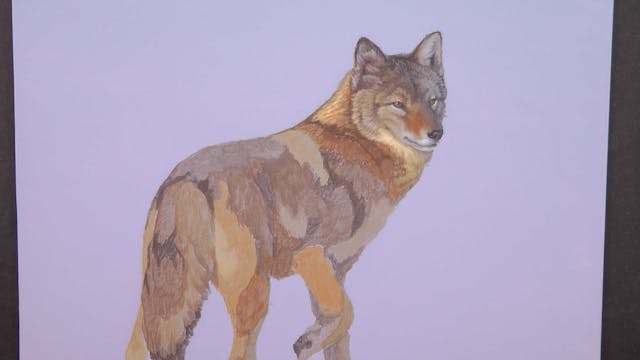
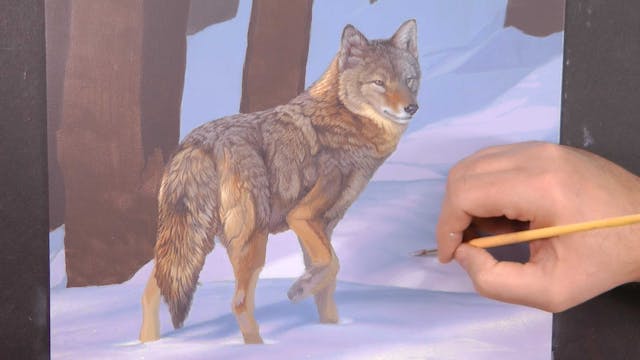
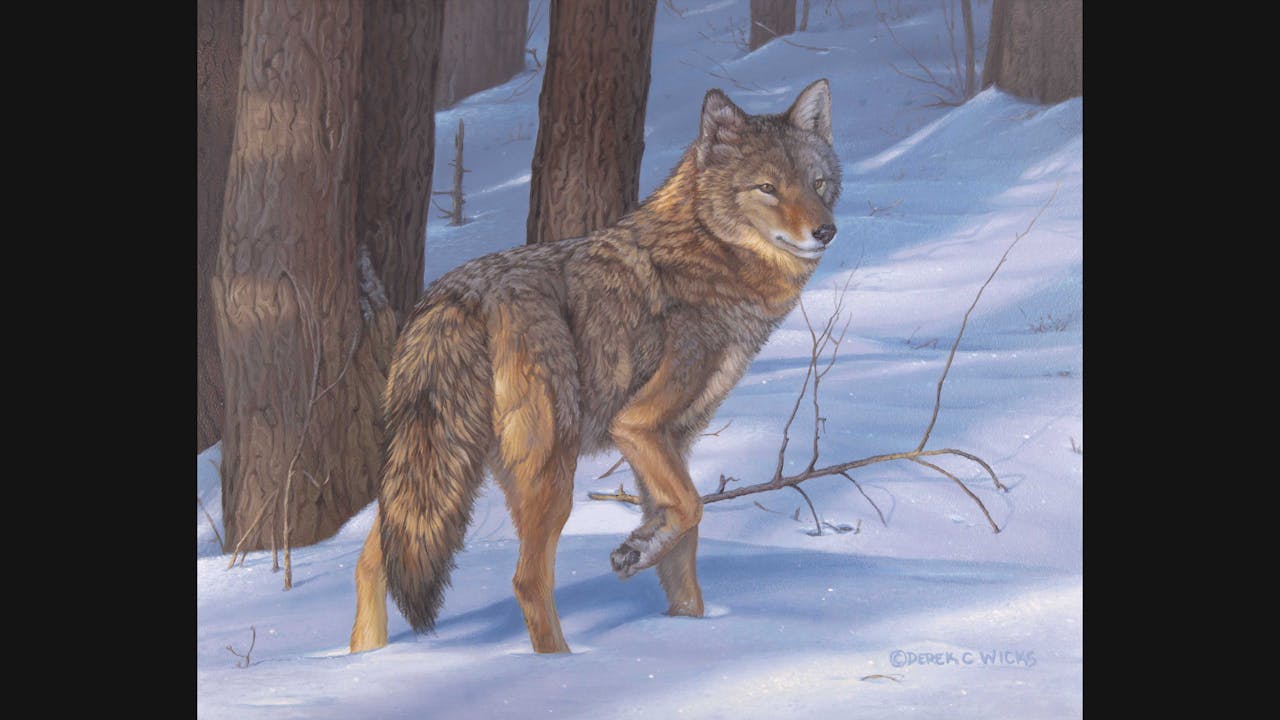
This coyote is almost a daily site at the back of my property. I often see him on his evening perambulation through the woods on his way to the next door neighbors house, a hot spot for chicken dinners. I find myself always amazed at the beauty in their coat, most people see the coyote as a nuisance, I see them as pure beauty.
In this art tutorial we learn how to achieve the daunting task of painting multi-coloured fur. We will break things down and then learn how to use value and temperature to create convincing fur, soft snow and highly textured wood. We will also learn how to use 'holding' through our shadows to create stability in our painting and to reinforce mood.
Difficulty: Intermediate
Board Size: 11 x 13 1/5 Inches
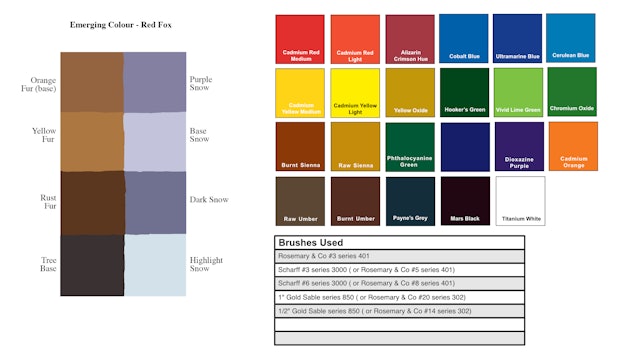
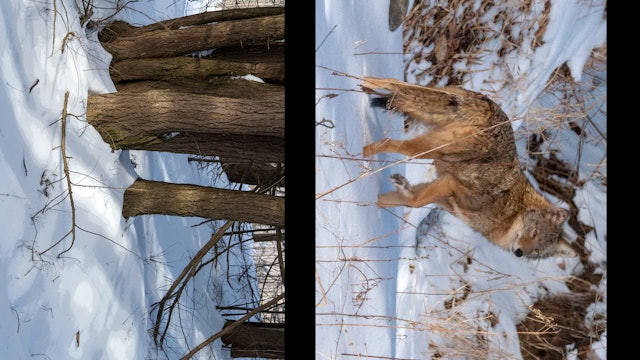
Downloadable Lesson Aids: Line Drawing, Colour Template, Materials List, Reference Photo.
-
Evening Perambulation Pt.1
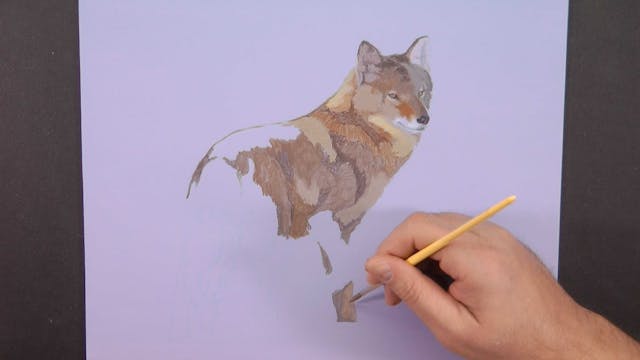
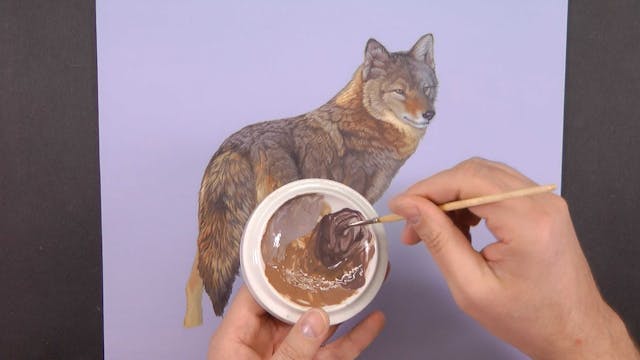
After a short introduction we mix our base colours and then start to block in our coyote head and body.
-
Evening Perambulation Pt.2
In part two we continue to block in the body of the coyote establishing our shape and form and then start our second coat, refining our colours.
-
Evening Perambulation Pt.3
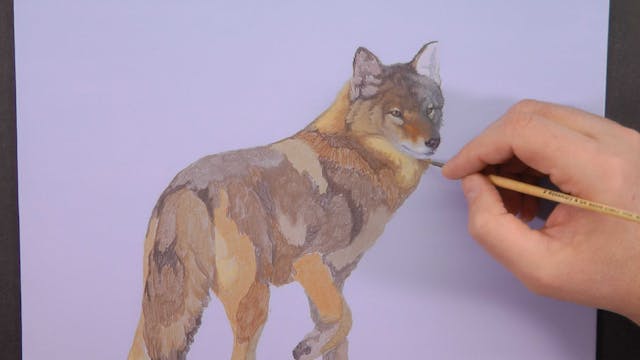
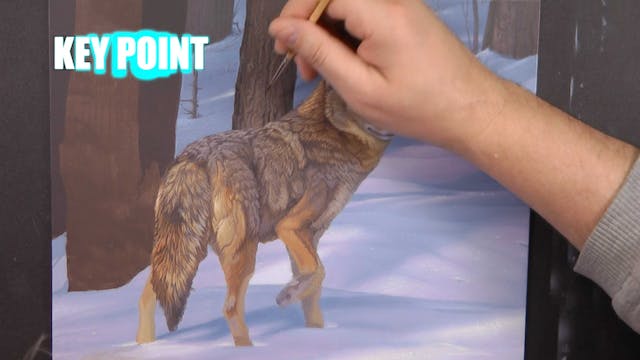
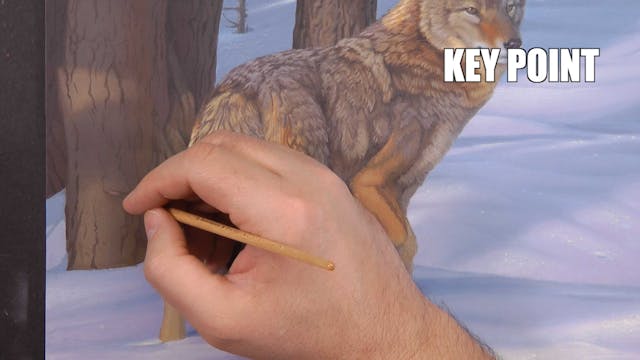
With blocking in completed we concentrate of building shape and form and then begin our detailing of the head.
-
Evening Perambulation Pt.4
In this part we turn our attention to the body and start to refine the colours in the coat before breaking the areas up in preparation for detail.
-
Evening Perambulation Pt.5
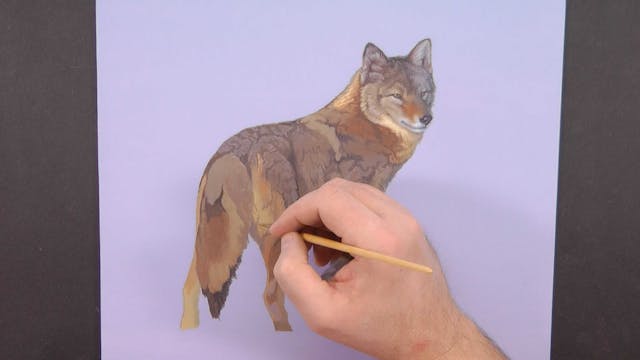
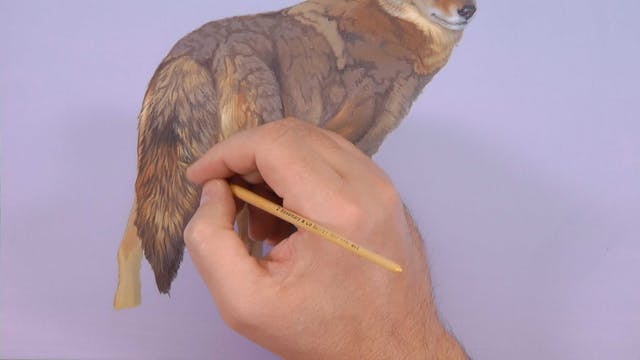
In part five the fun begins as we start to develop and then detail the tail and the hind quarter of our coyote.
-
Evening Perambulation Pt.6
In part six, with our shape and form built, we start to detail the multi-colored coat of the coyote on the back and sides.
-
Evening Perambulation Pt.7
In part seven we begin our snow textures. We block in a background that we change down the road and then start to build up the foreground snow.
-
Evening Perambulation Pt.8
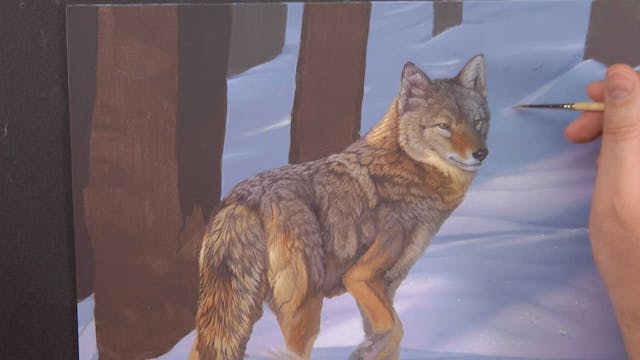
In part eight we learn to rework our background into a stronger composition. Once blocked in we build up shape and plain changes in our snow.
-
Evening Perambulation Pt.9
In part nine we learn how to make subtle plane changes in our snow to create the look of ripples and swales in our snow.
-
Evening Perambulation Pt.10
In part ten we paint our background trees and ground debris. With the background completed we blend and break up our right foreground tree.
-
Evening Perambulation Pt.11
In this part we blend 'local' colours on our left trees by hand with a demo of how to do with airbrush and then we start adding detail to the bark.
-
Evening Perambulation Pt.12
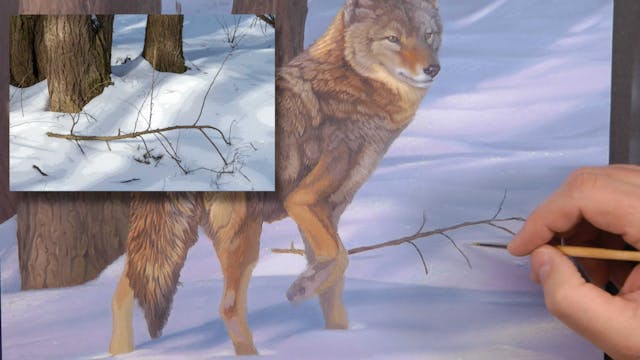
In part twelve we add the fallen branch and ground debris. We learn how to use lighting to create shape, depth and holding.
-
Evening Perambulation Pt.13
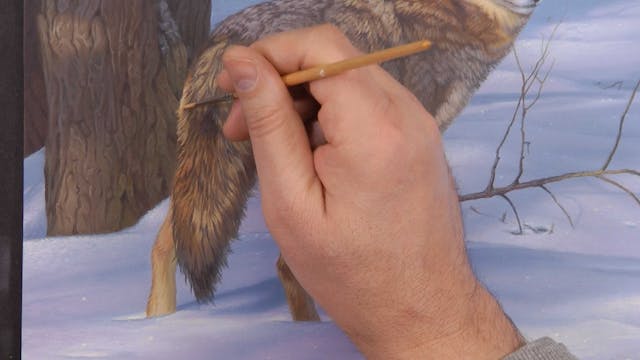
In this part we detail the raised leg/paw of the coyote and then move on to adding final detail on the body and head of the coyote.
-
Evening Perambulation Pt.14
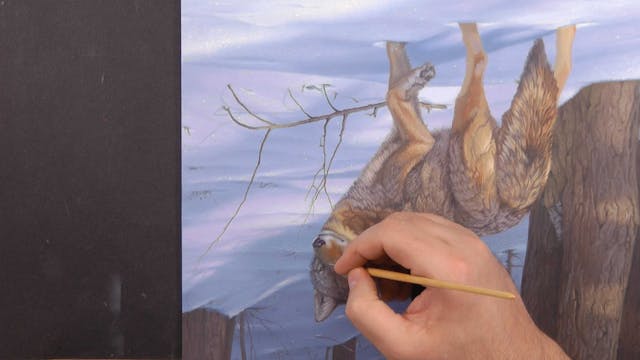
We finish off by painting the hind legs and adding detail to the tail and rear area. We complete the painting with some added detail of small saplings.
-
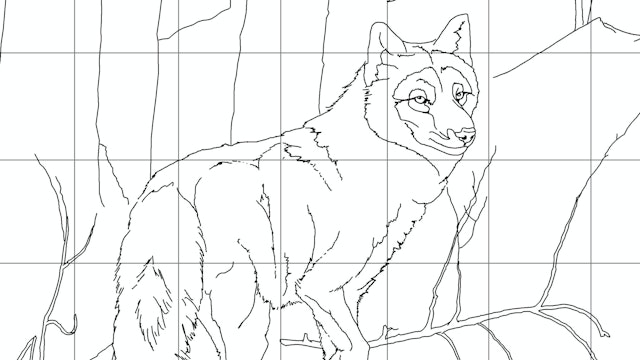
evening--perambule-line-drawing.jpg
886 KB
-
 1.77 MB
evening--perambule-template.jpg
1.77 MB
-
materials-list-evening-perambulation.jpg
1.46 MB
-
 2.93 MB
evening--perambule-reference.jpg
2.93 MB