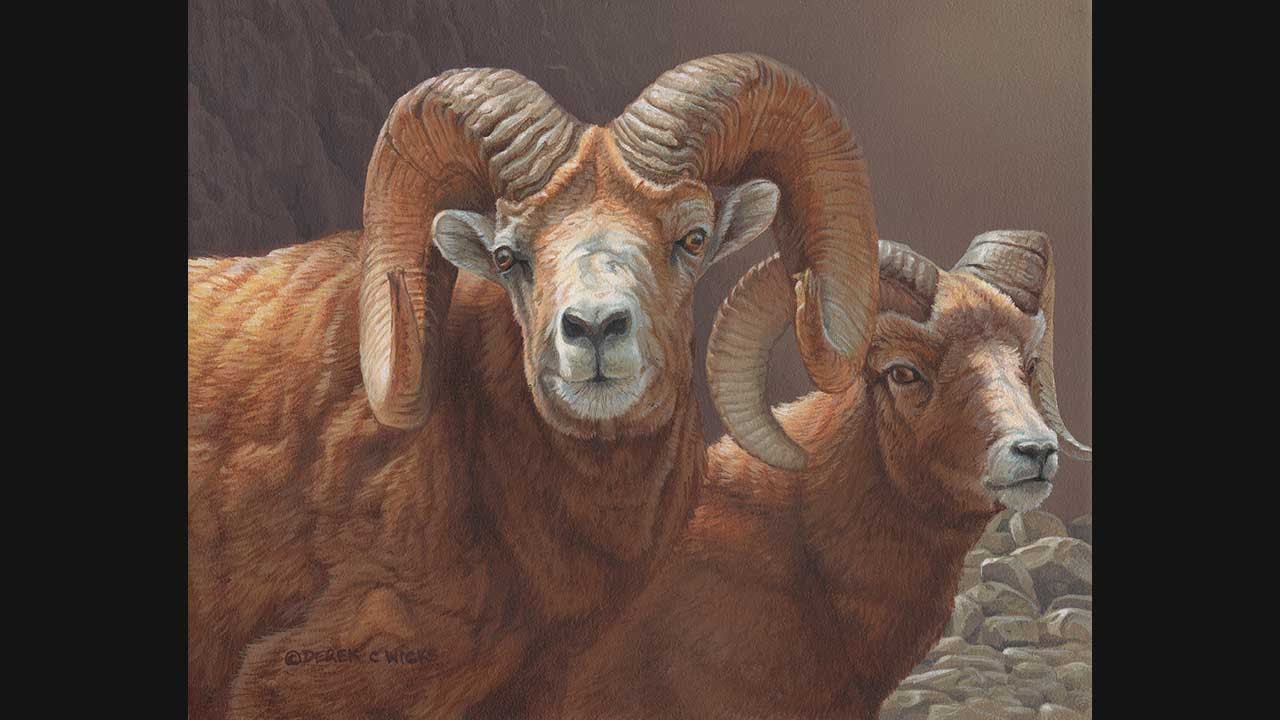
Bighorn Ridge
Run Time: 2Hr 31 Min
Video Size: 1920 x 1080 Full HD
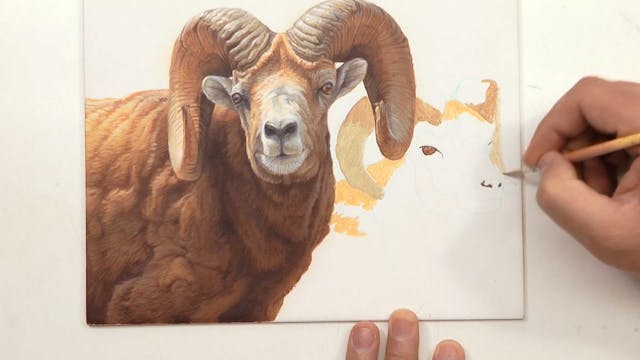
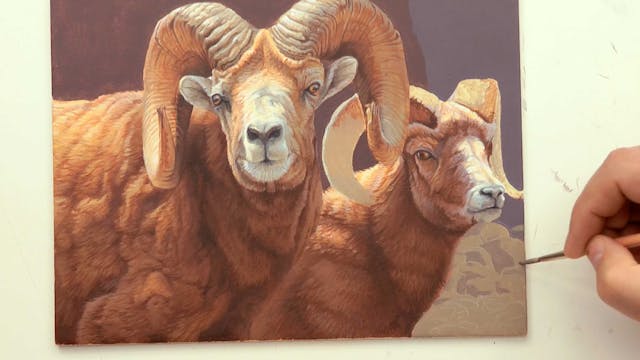
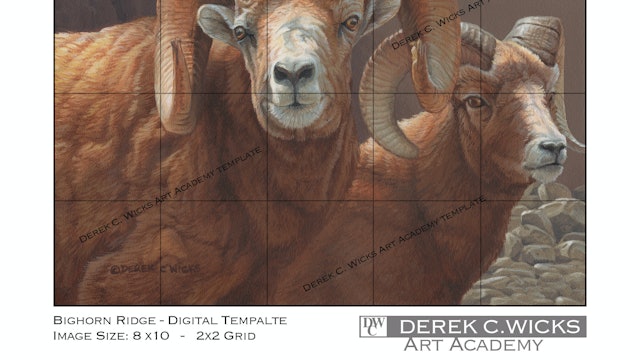
Note: The bighorn on the left is not painted in this tutorial. Bighorn Ridge started out as a coin for the Royal Canadian Mint. It was designed to be an engraved coin with a colour bighorn requiring two different plates for production. The coin was eventually cancelled and I decided to create an original piece of art from the original colour plate I had designed. I completed the painting by adding in a second bighorn and a mist covered mountain to create depth and mood in the piece. The end result was a fantastic reworked piece of art!
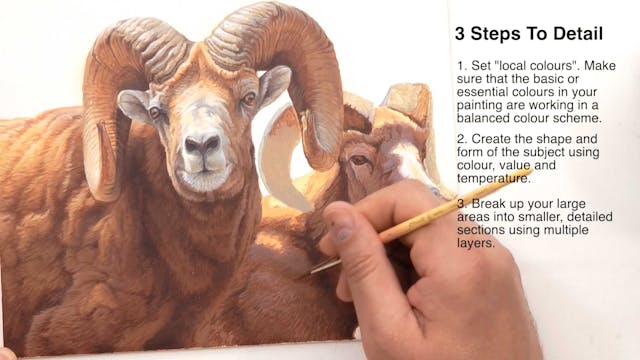
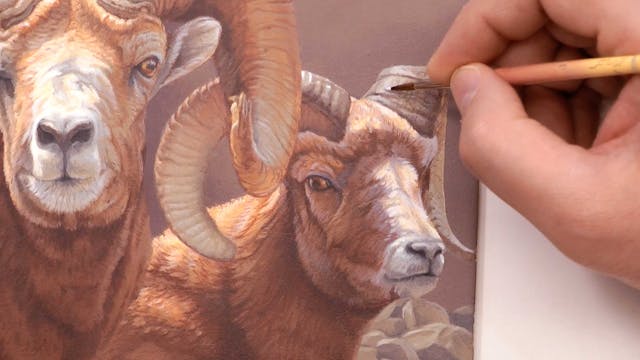
In this tutorial we will learn to paint detailed bighorn sheep, create mist cover mountains and paint textured rock formations. We will learn how to paint gradated backgrounds by hand with the use of a photocopied mask and a flat filbert brush to create depth and mood in our painting. This tutorial will show you how to paint detailed fur textures along with detailed horn and rock textures. This tutorial so shows how to take an existing painting and rework it in a new original piece of art.
Difficulty: Beginner to Intermediate
Board Size: 8 x 10 Inches
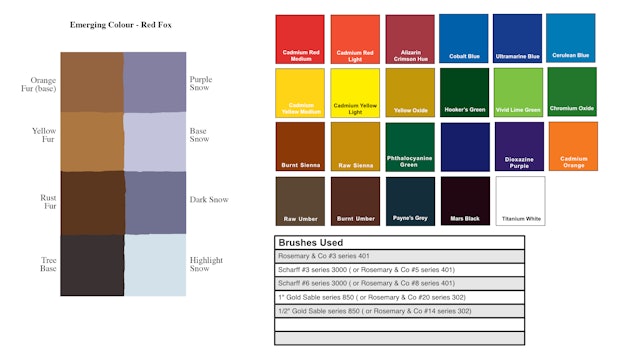
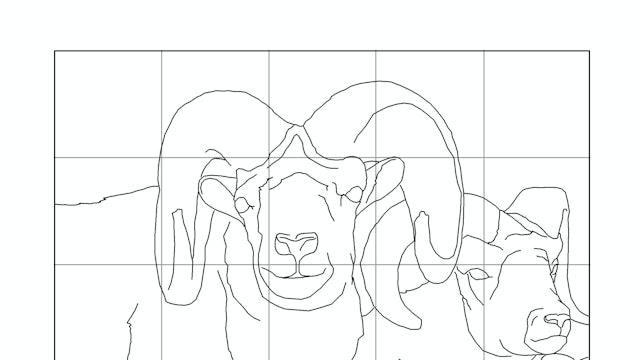
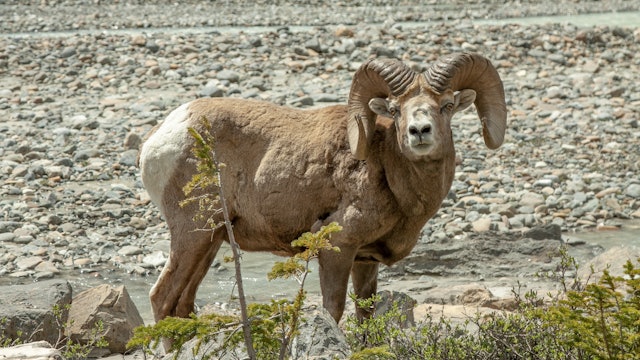
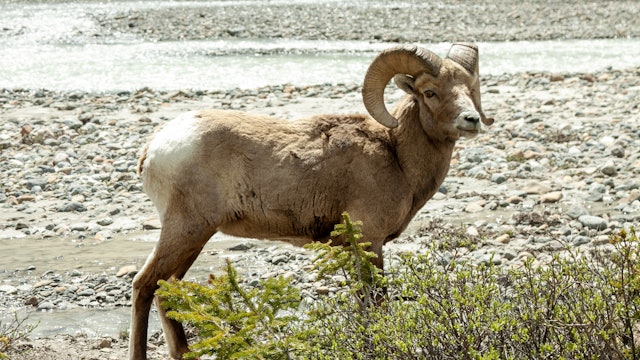
Lesson Aids: Line Drawing, Colour Template, Materials List, Reference Photo.
-
Bighorn Ridge Pt.1
In this first part we mix our base colours and then start the process of blocking in our local colours.
-
Bighorn Ridge Pt.2
In this second part of the tutorial we refine the structure and form of the bighorn sheep head.
-
Bighorn Ridge Pt.3
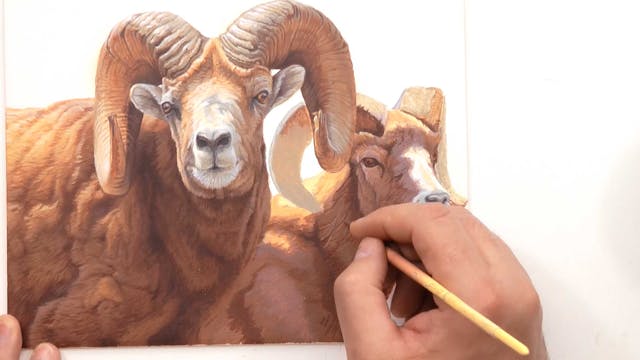
In this part of the tutorial we concentrate on building up the form of the bighorn sheeps body and start to add detail.
-
Bighorn Ridge Pt.4
In this part we start with detailing the eye and head and then move on to painting our rock formation at the bottom right.
-
Bighorn Ridge Pt.5
In this part we learn to paint a gradated background using masks and then add detail to our mountain. We finish up with detailing the horns.

